In this example, we will create our first application, which will be Drupal 8 from scratch. For simplicity, we will use the defaults proposed by devpanel.com where possible.
¶ Creating a new project
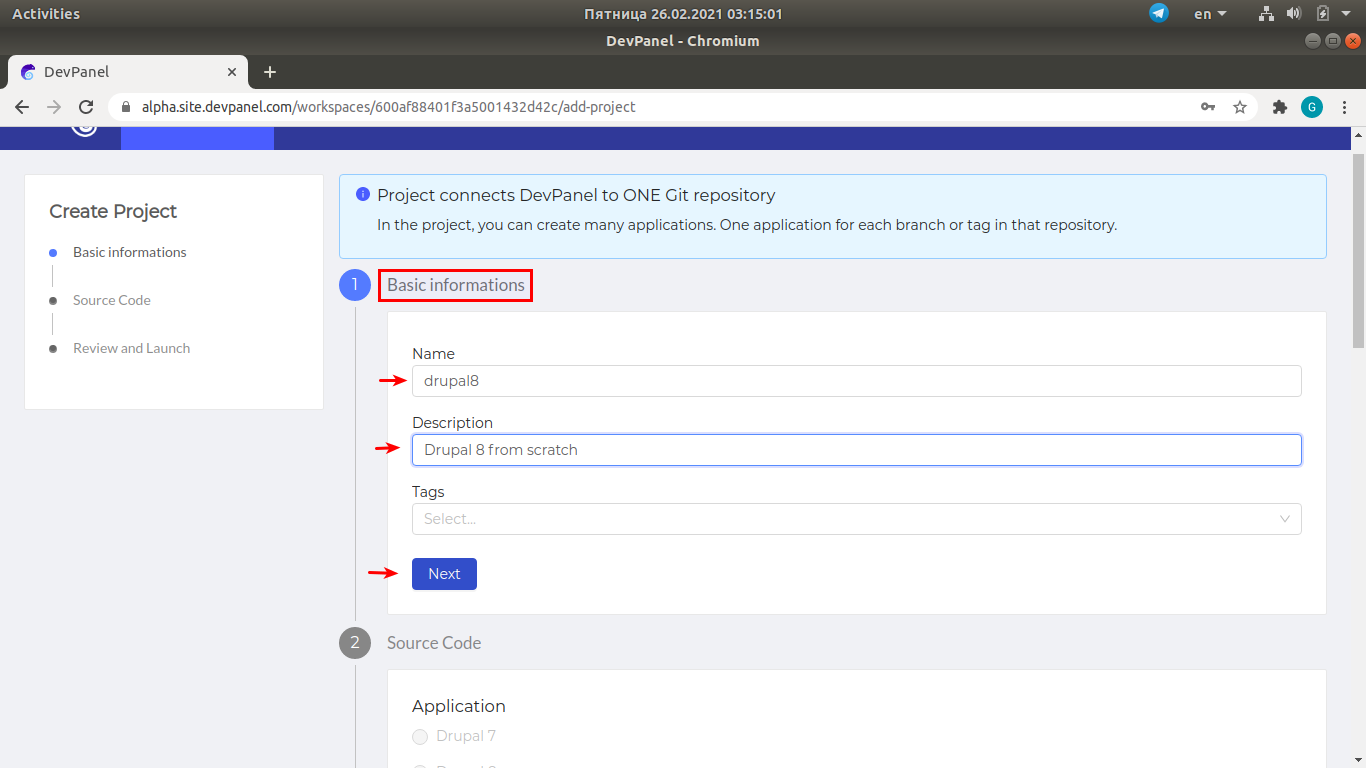
Project connects DevPanel to ONE Git repository
In the project, you can create many applications. One application for each branch or tag in that repository.
A workspace can have many projects.
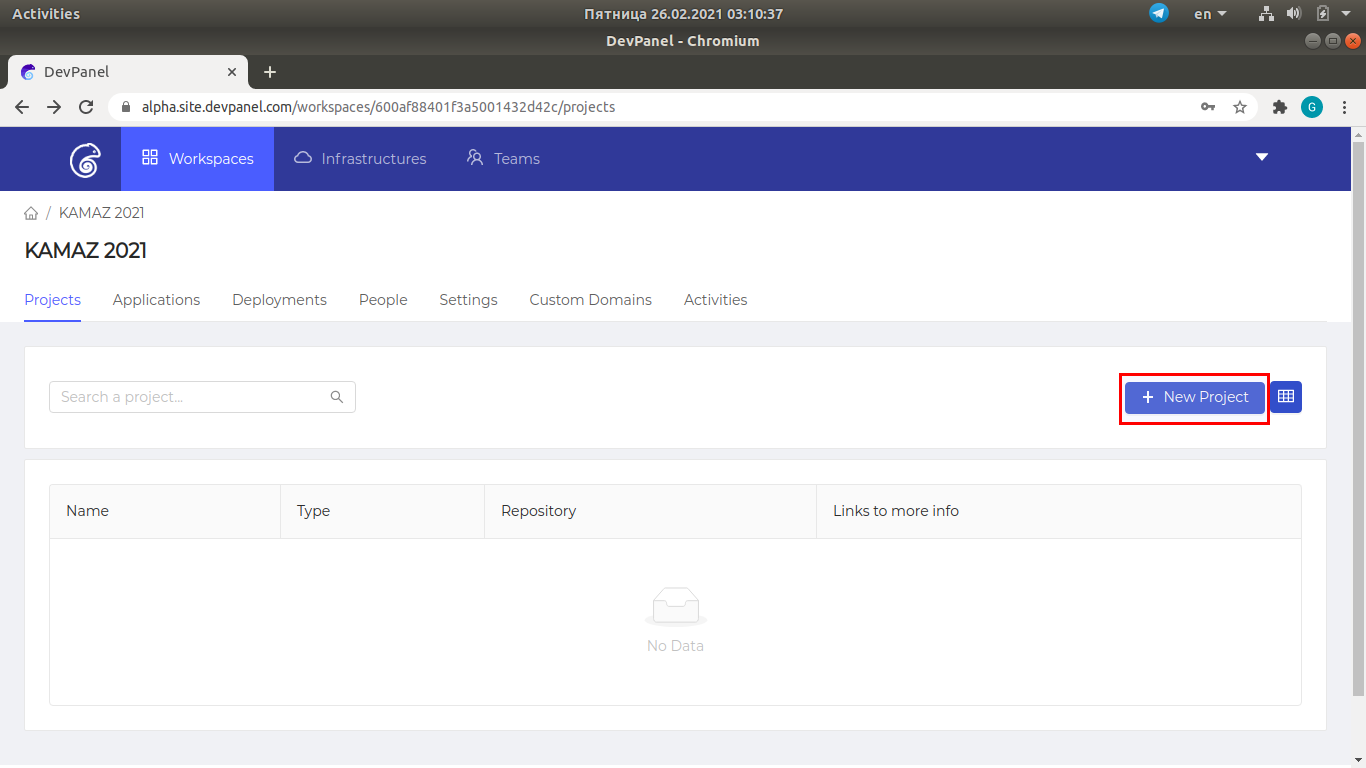
To create a project, click the "New Project" button.
¶ Basic information
Enter the project name, description, click on "Next".
¶ Source code: application type and repository for storing the code
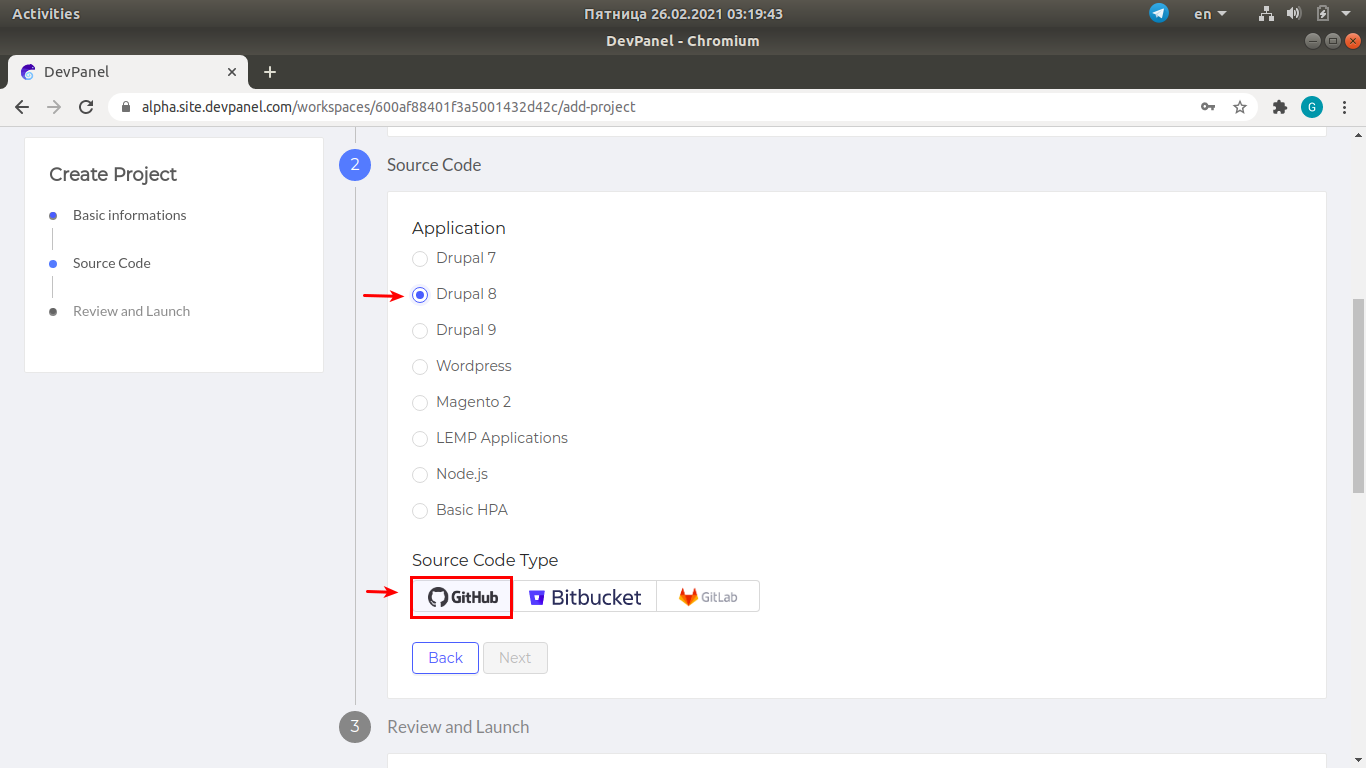
Select the application type and link to your source repo.
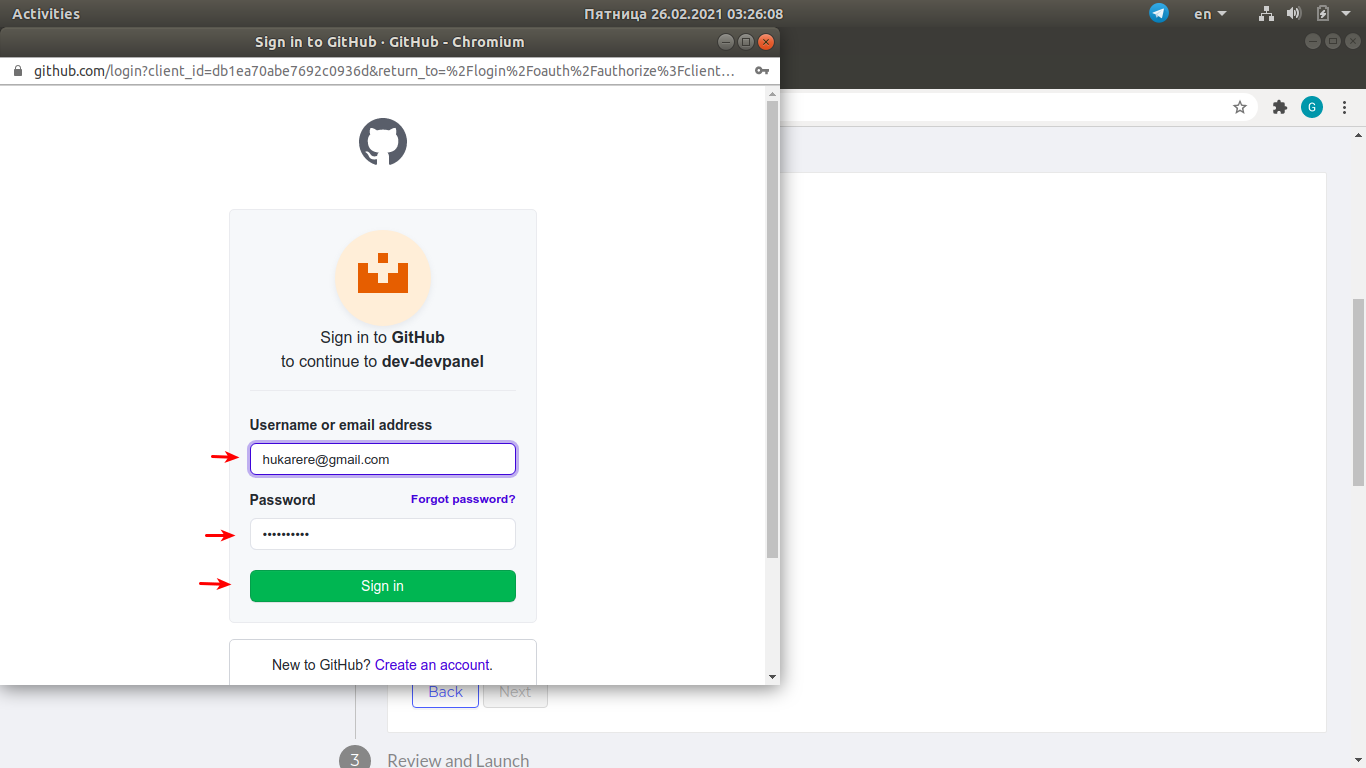
¶ Linking your git provider account to the new project
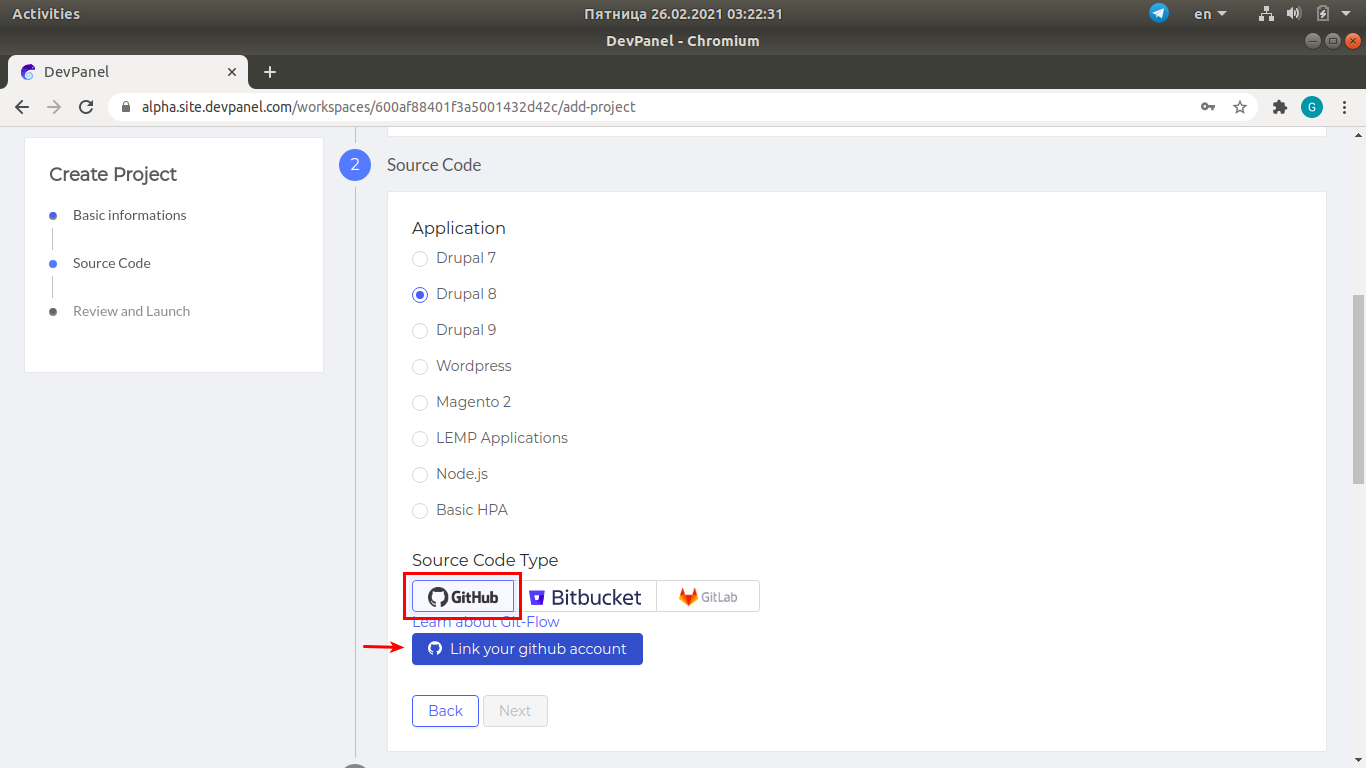
Enter your credentials in the pop-up window shown below.
If you are already logged in to GitHub, this operation will be performed automatically.
¶ Selecting a repository
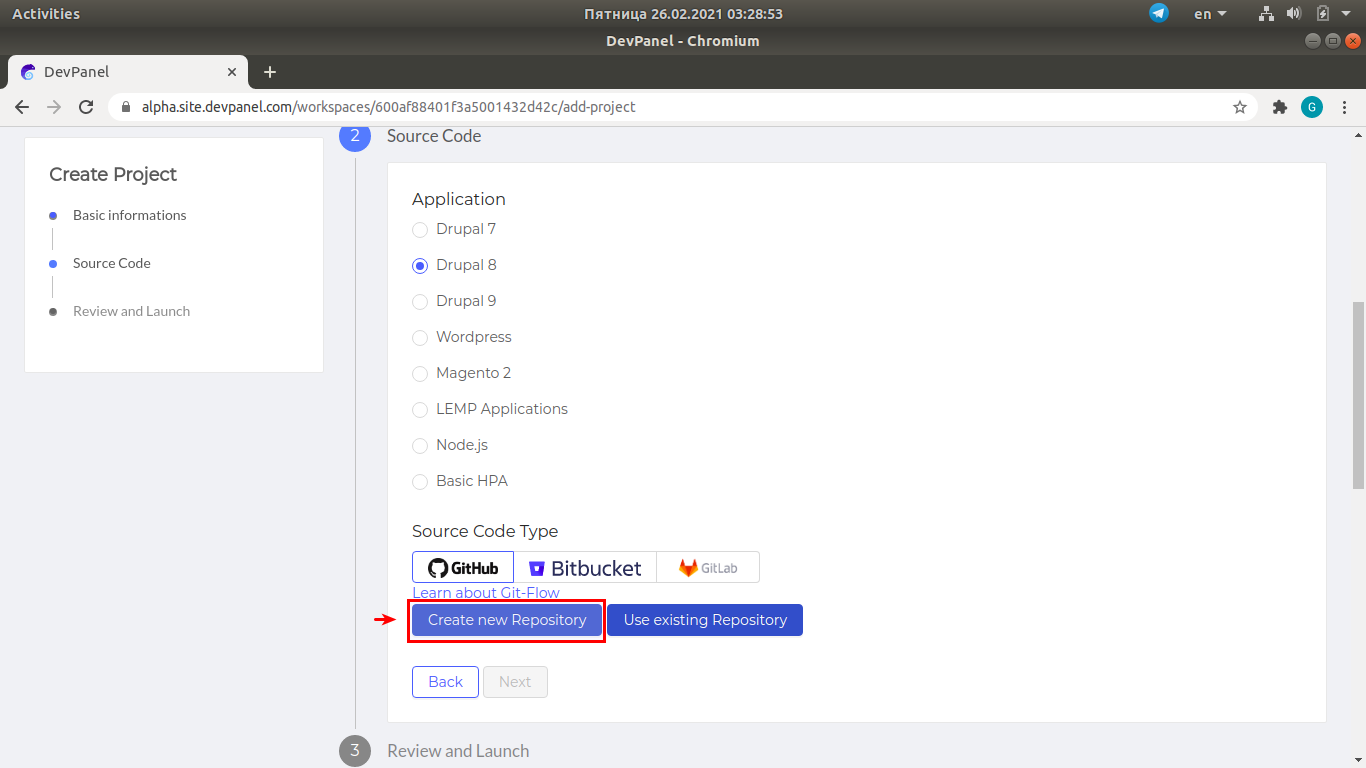
Next, you can select between "Create new repository" or "Use existing Repository".
To create a new app, click on "Create new repository", enter the name of the new repo and click Next.
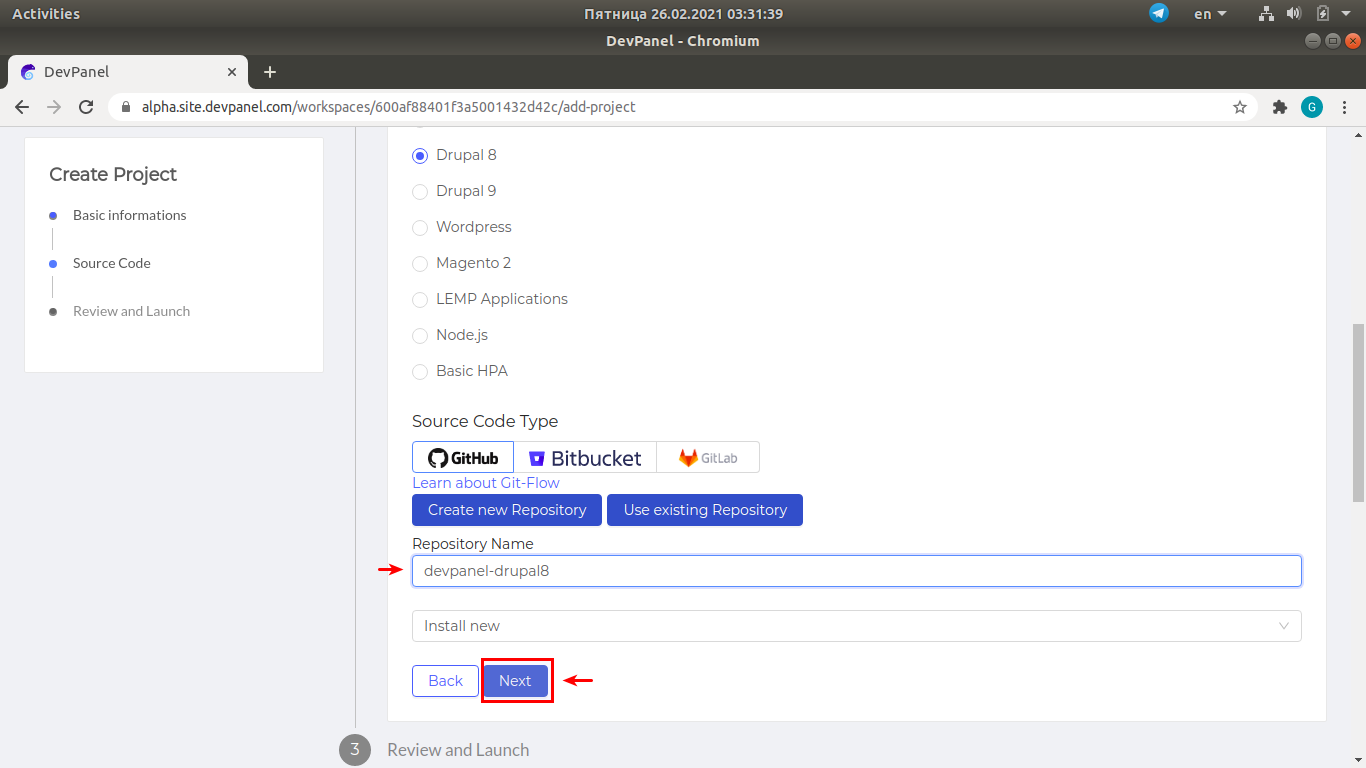
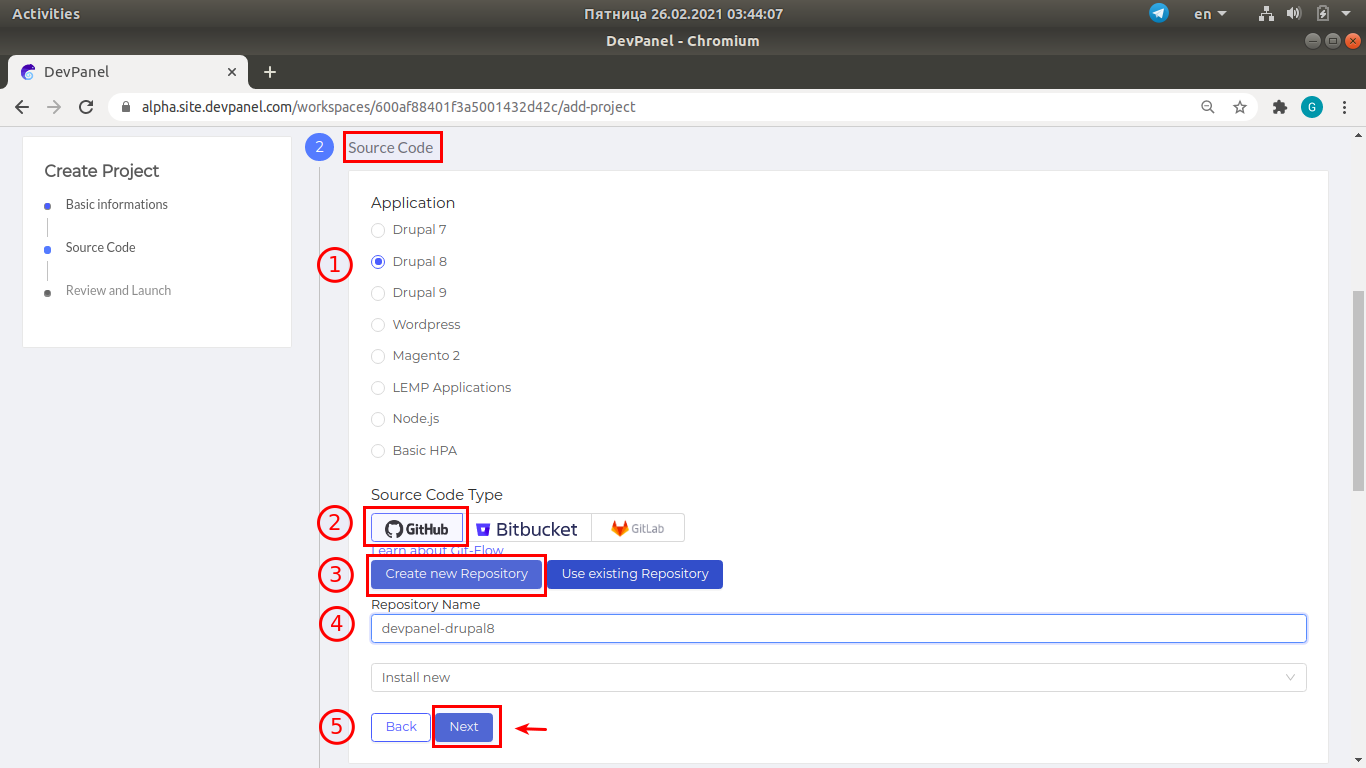
¶ Review the "Source Code" form
Make sure all the marked items are correct and what you want...
¶ Confirm and launch
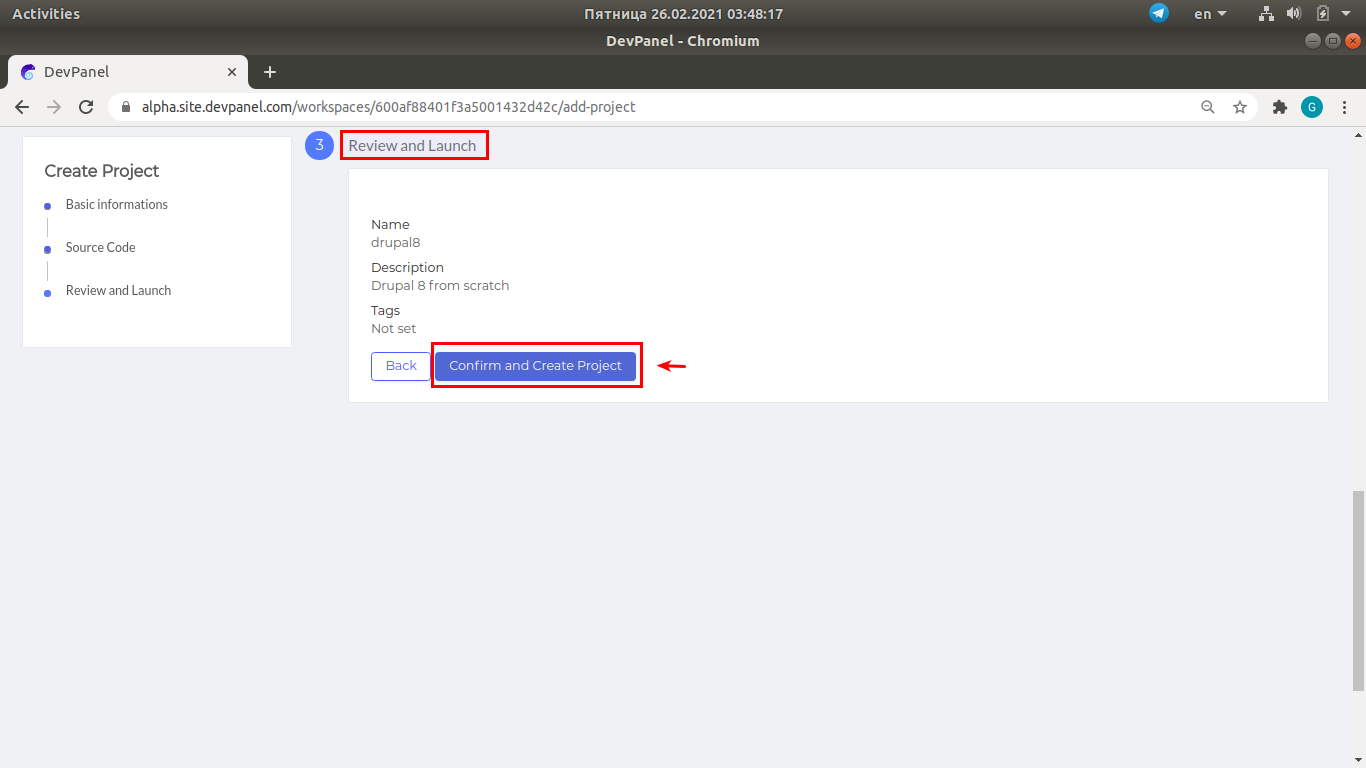
This is the last chance to review the details of the new project. If you are unsure, you can click on "Back" and review the details you had entered previously.
If everything is OK, click on "Confirm and Create Project", and this will initiate the project creation procedure.
This process creates a new repo and loads it up with source code... so it can take a few minutes.
¶ Project creation in progress
You will see a blue window with the log describing various steps of the project creation process.
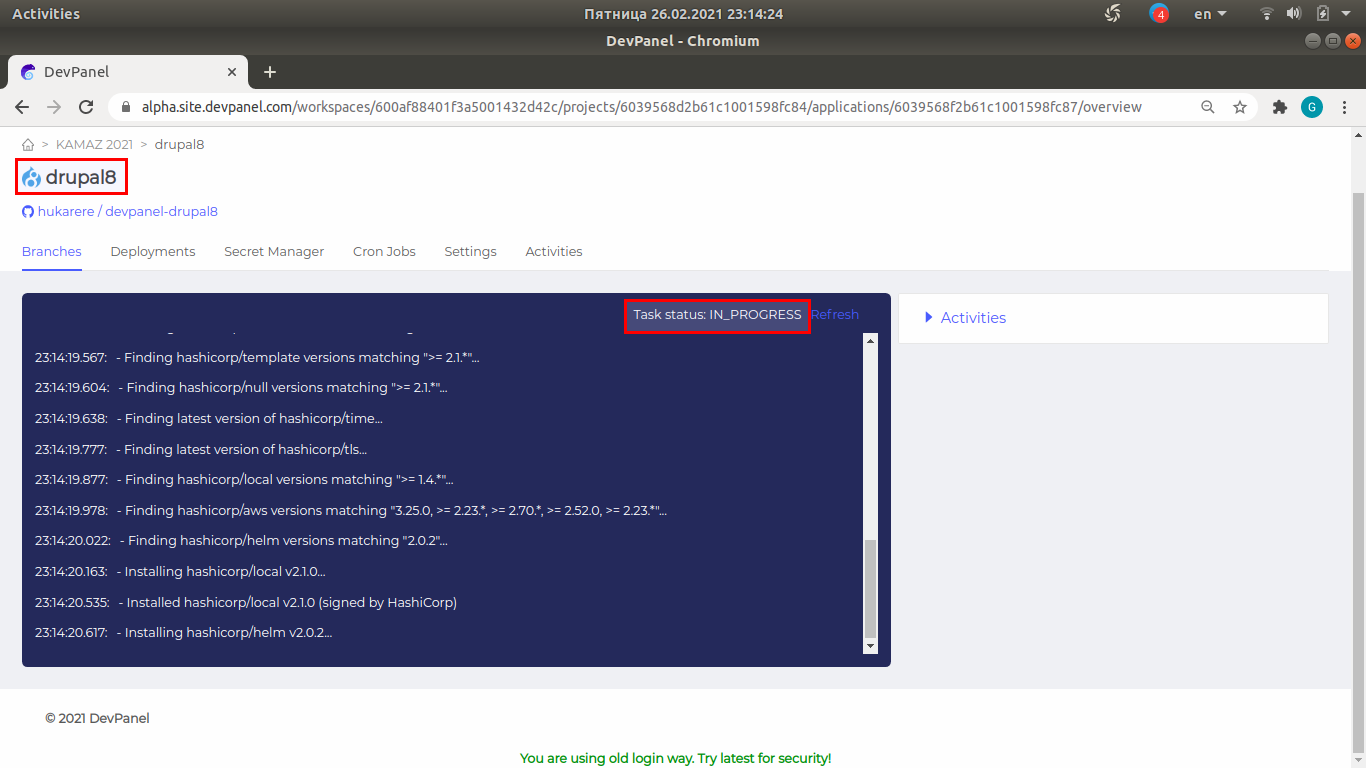
¶ Creating an application by deploying a branch
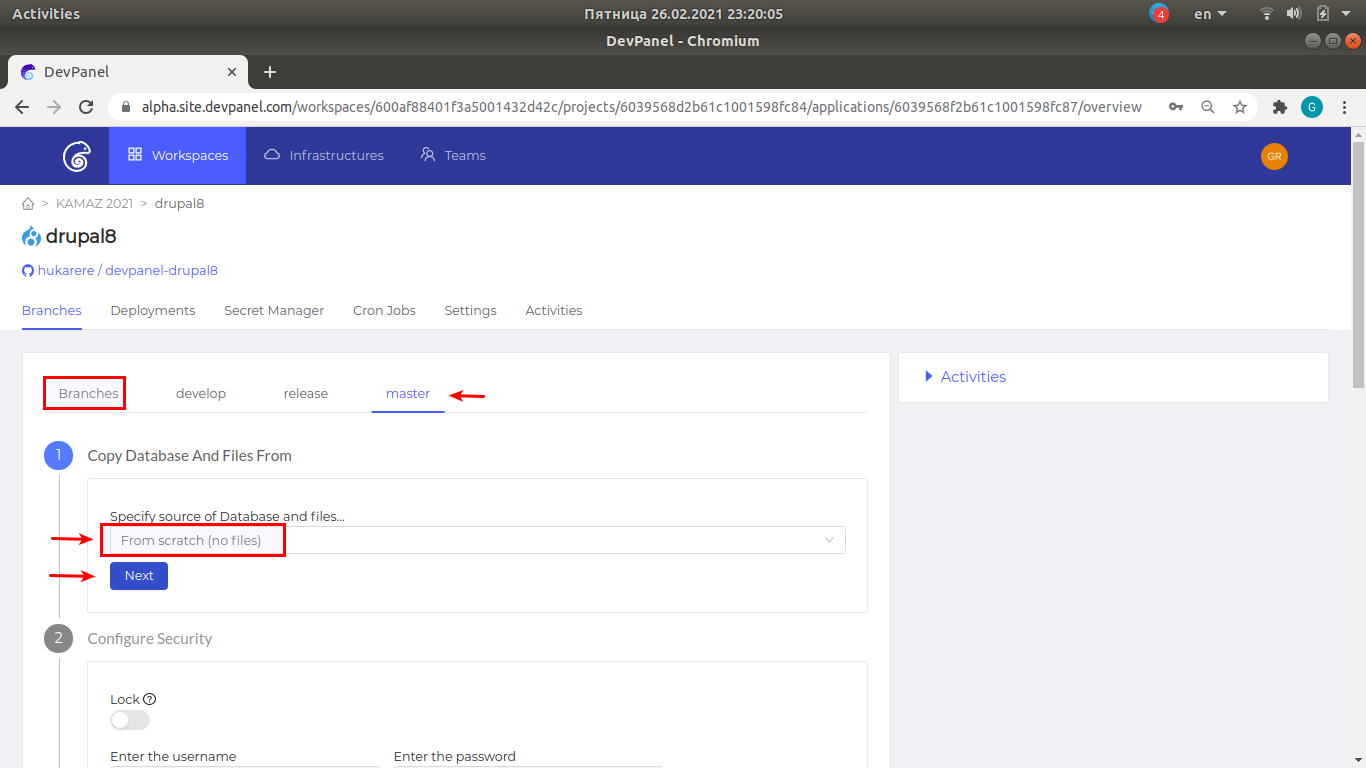
To create an application using the source code of one of the repository branches, select the branch to deploy ("master" by default), leave the default source of database and static files ("from scratch") and click "Next".
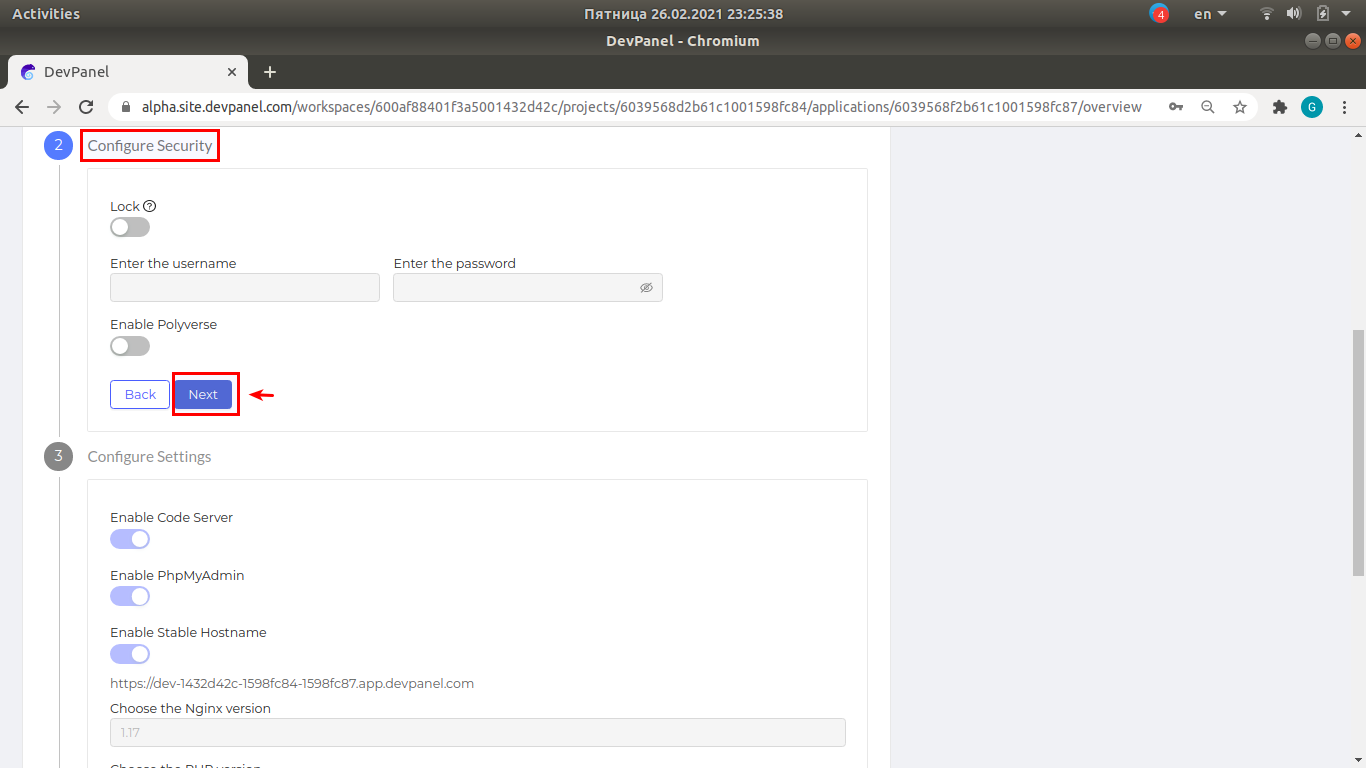
¶ Configure security
Just accept the defaults by clicking "Next".
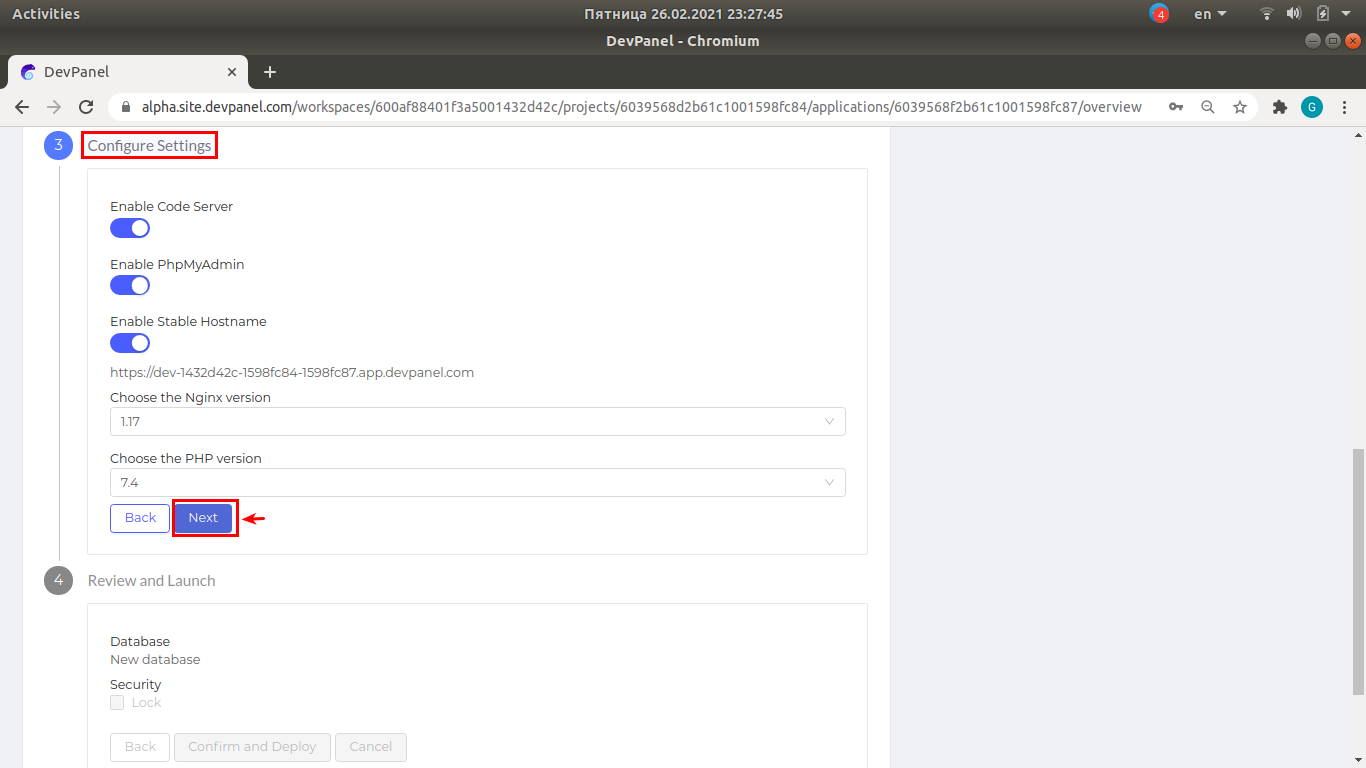
¶ Configure settings
Again, accept the defaults by clicking "Next".
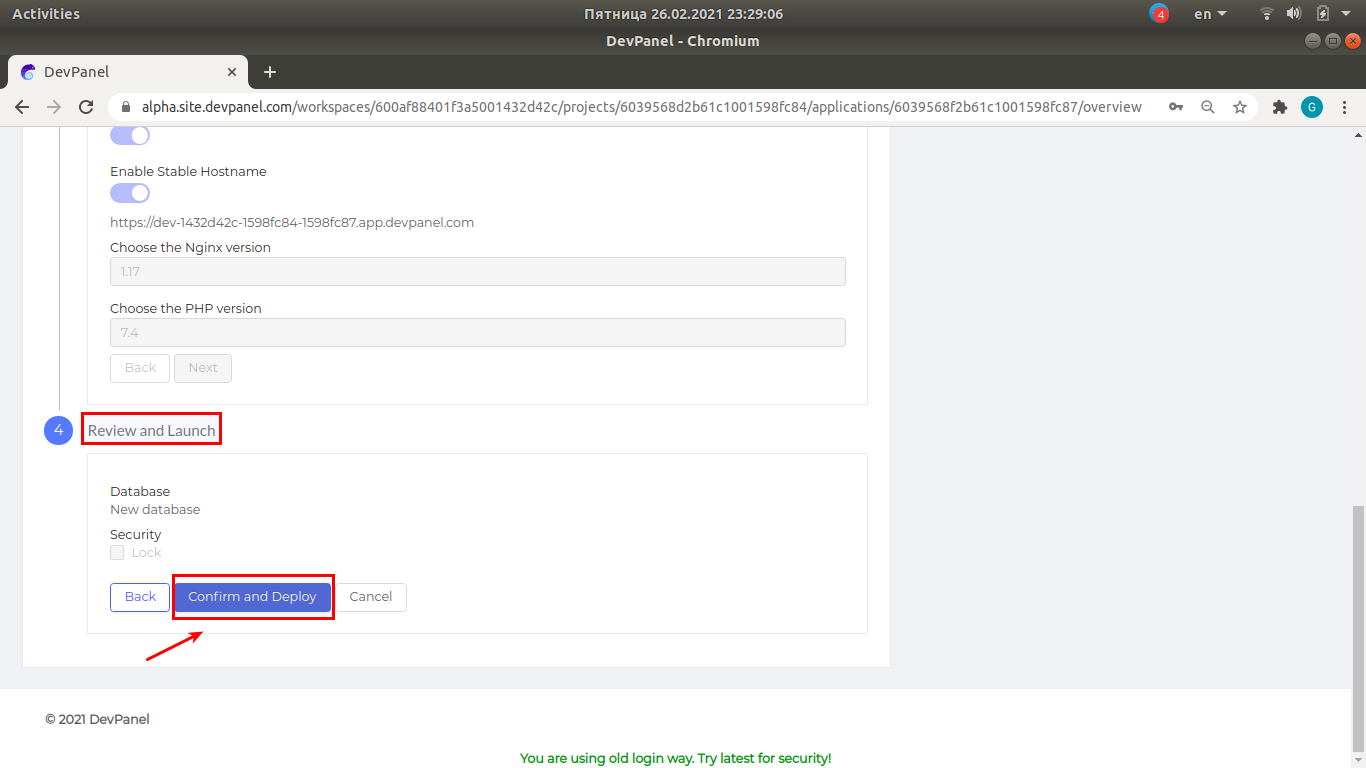
¶ Review and launch
Initiate the branch deployment. This process will create the new appliccation in the kubernetes cluster and can take several minutes.
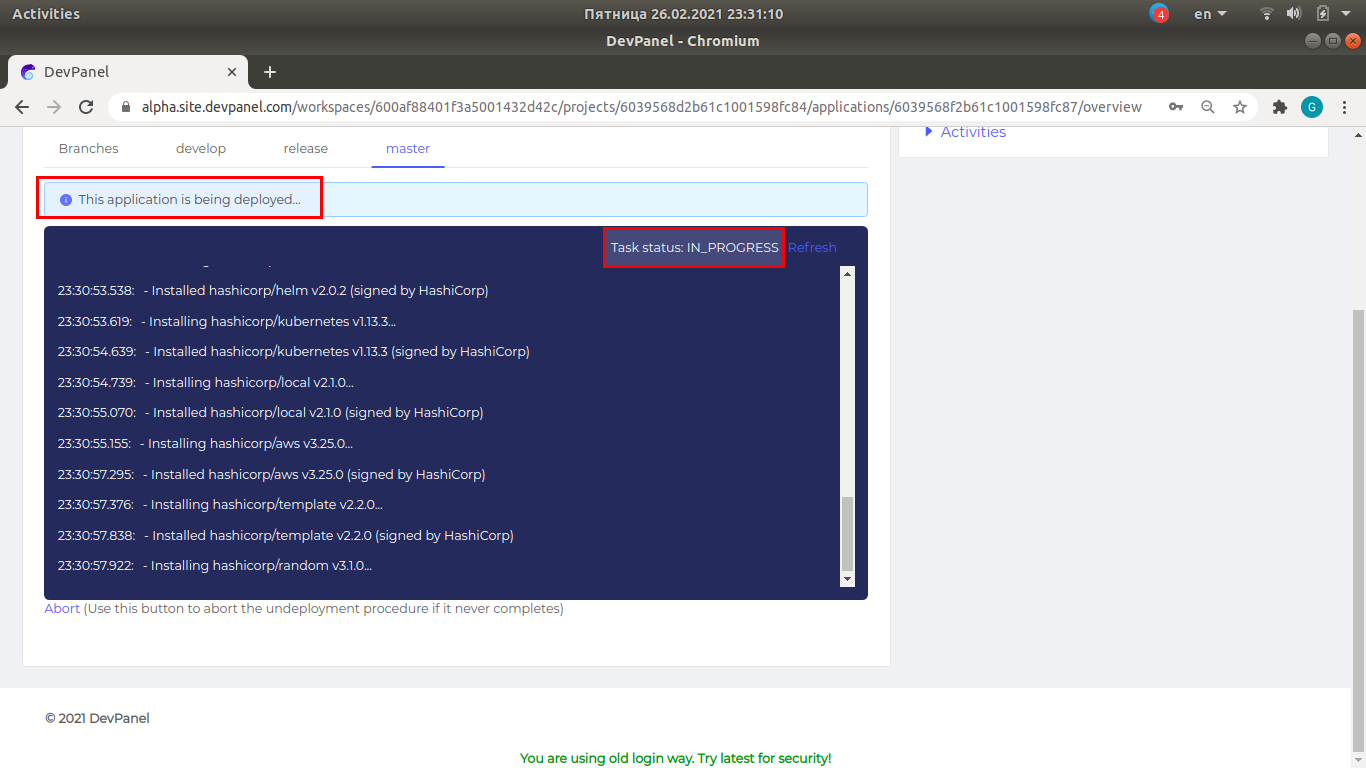
¶ Deployment in progress
As with project creation, we can see a blue window with the logs describing various steps of application creation.
¶ The new application is ready to use
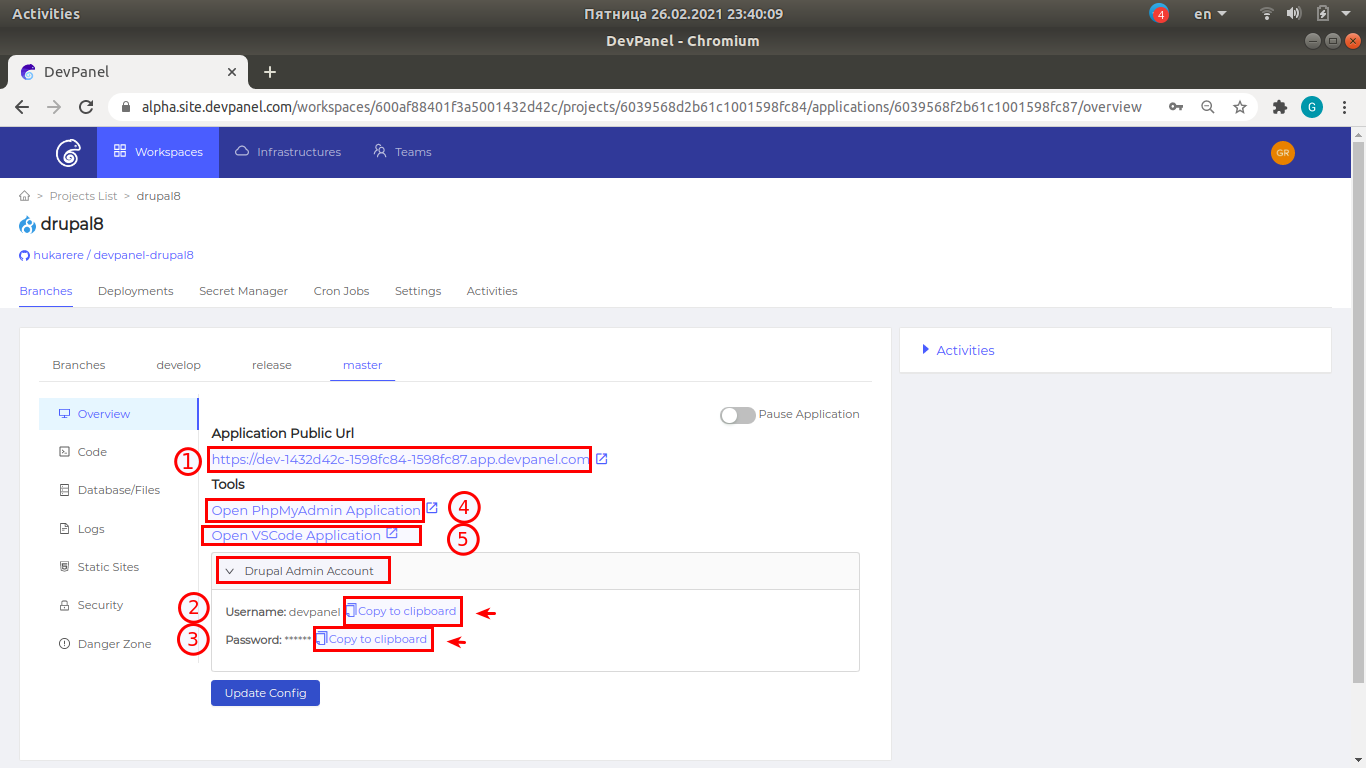
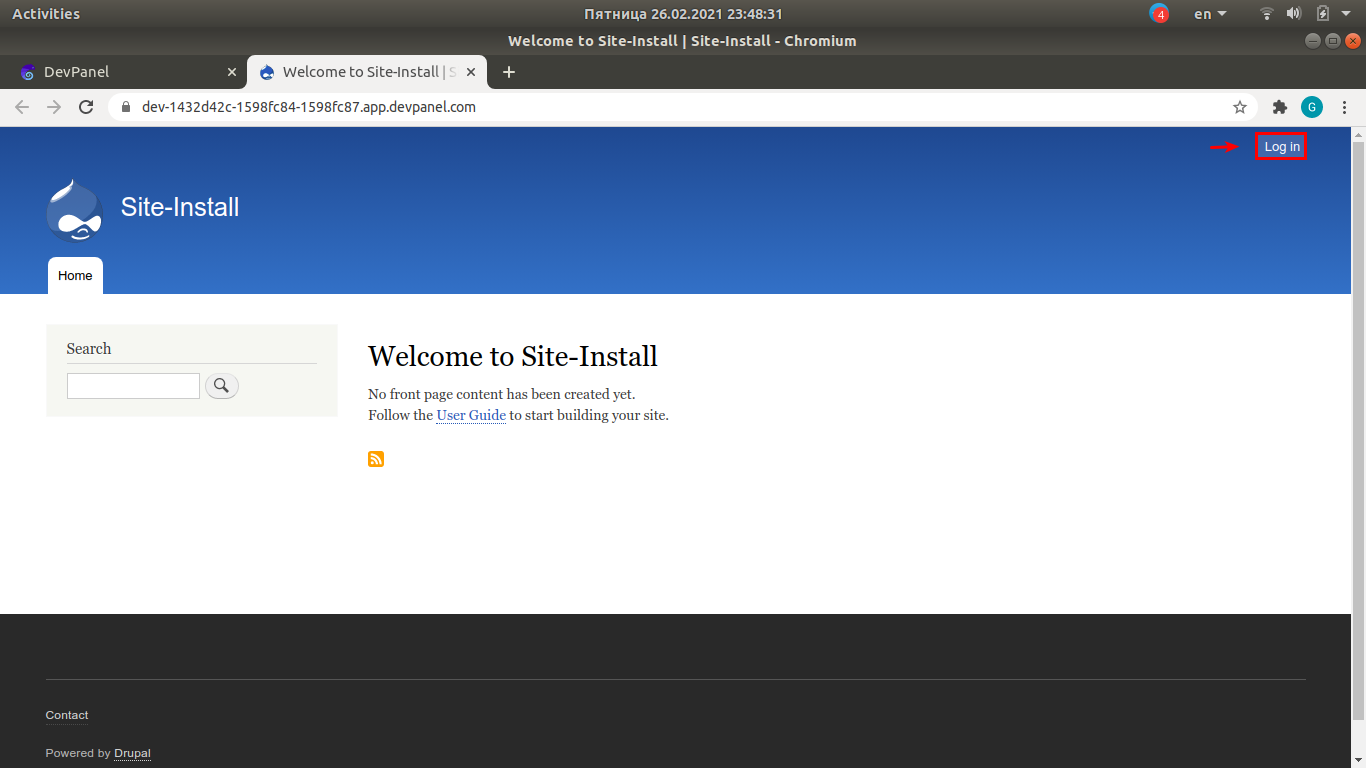
Open the new drupal site by clicking on the application public URL (1) and login to drupal by using the admin's username (2) and password (3) which can be copied to the clickboard.
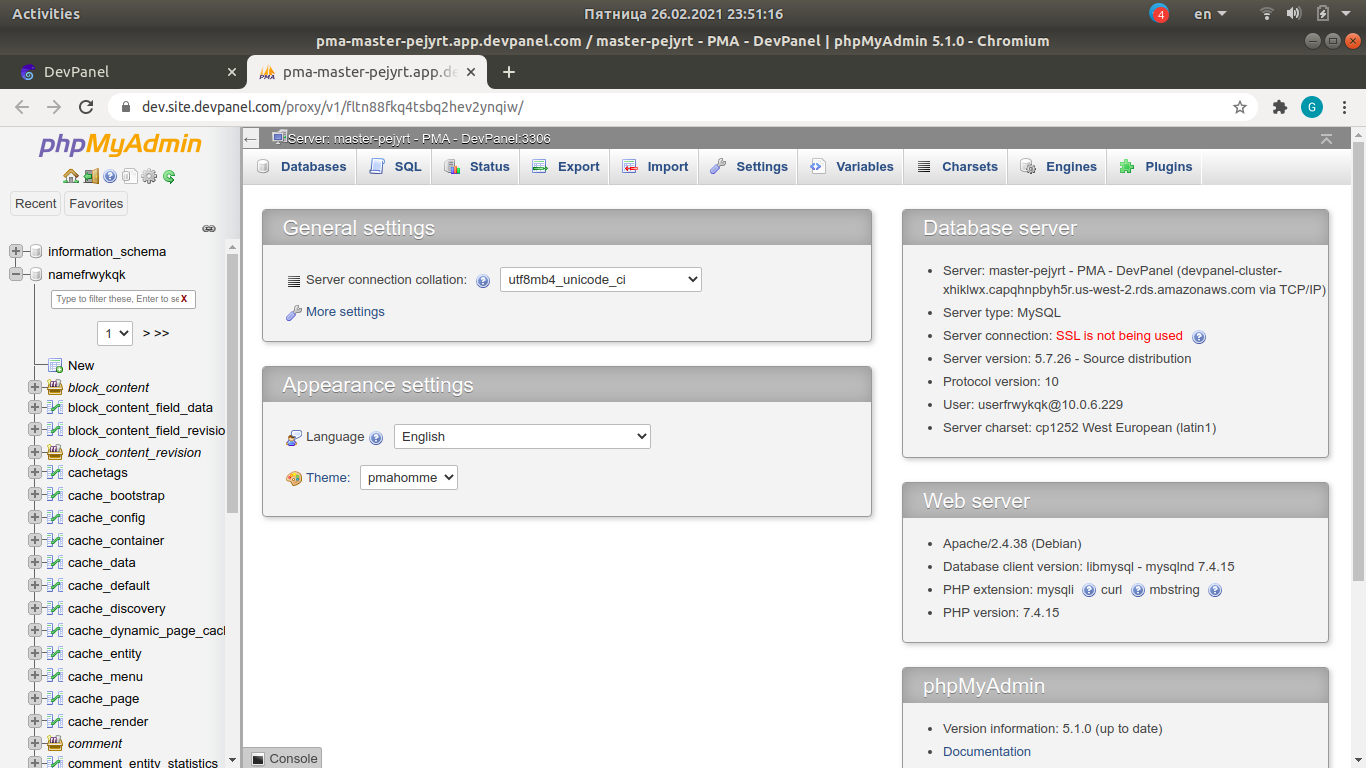
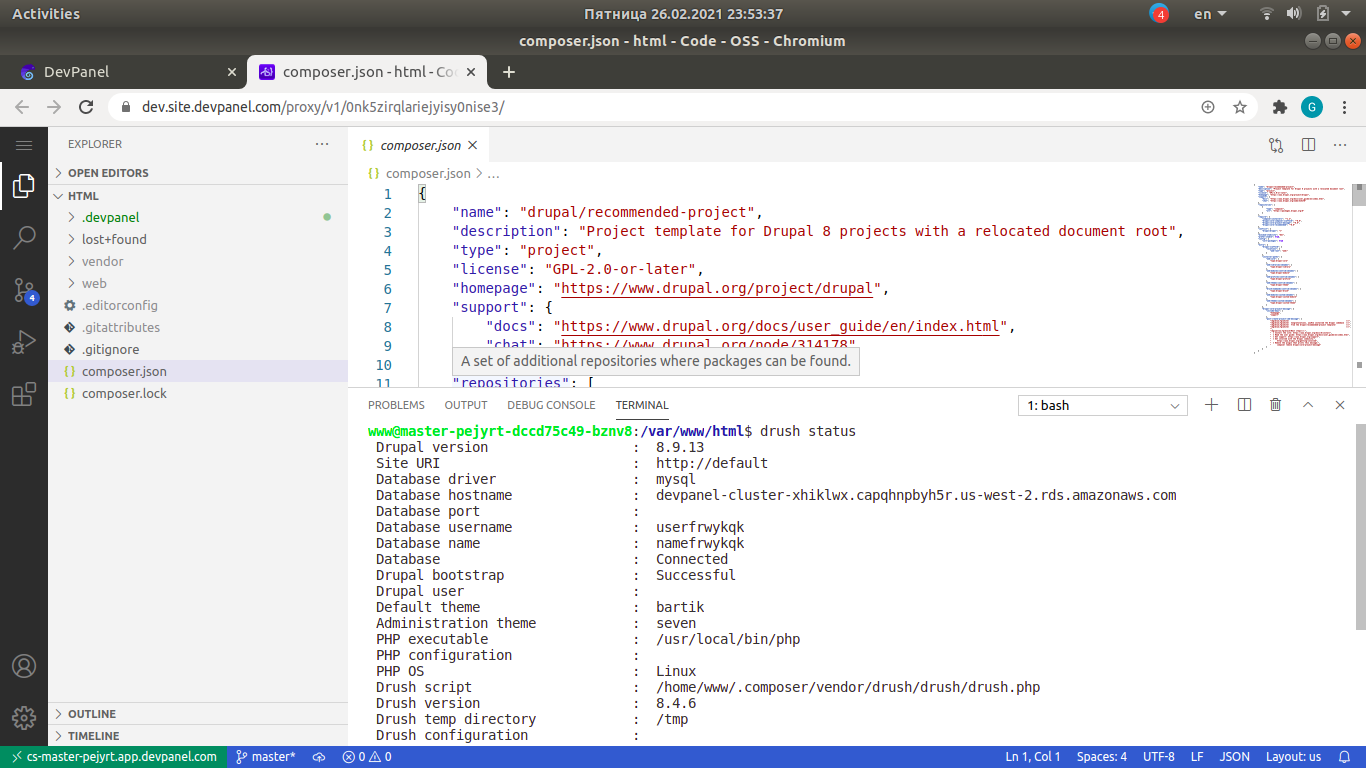
Additionally, you can open the tools PHPMyAdmin (4) and VSCode (5).
¶ Login to Drupal
¶ PHPMyAdmin
Database editor.
¶ VSCode
Visual Studio Code editor with a bultin terminal for running the Linux shell.
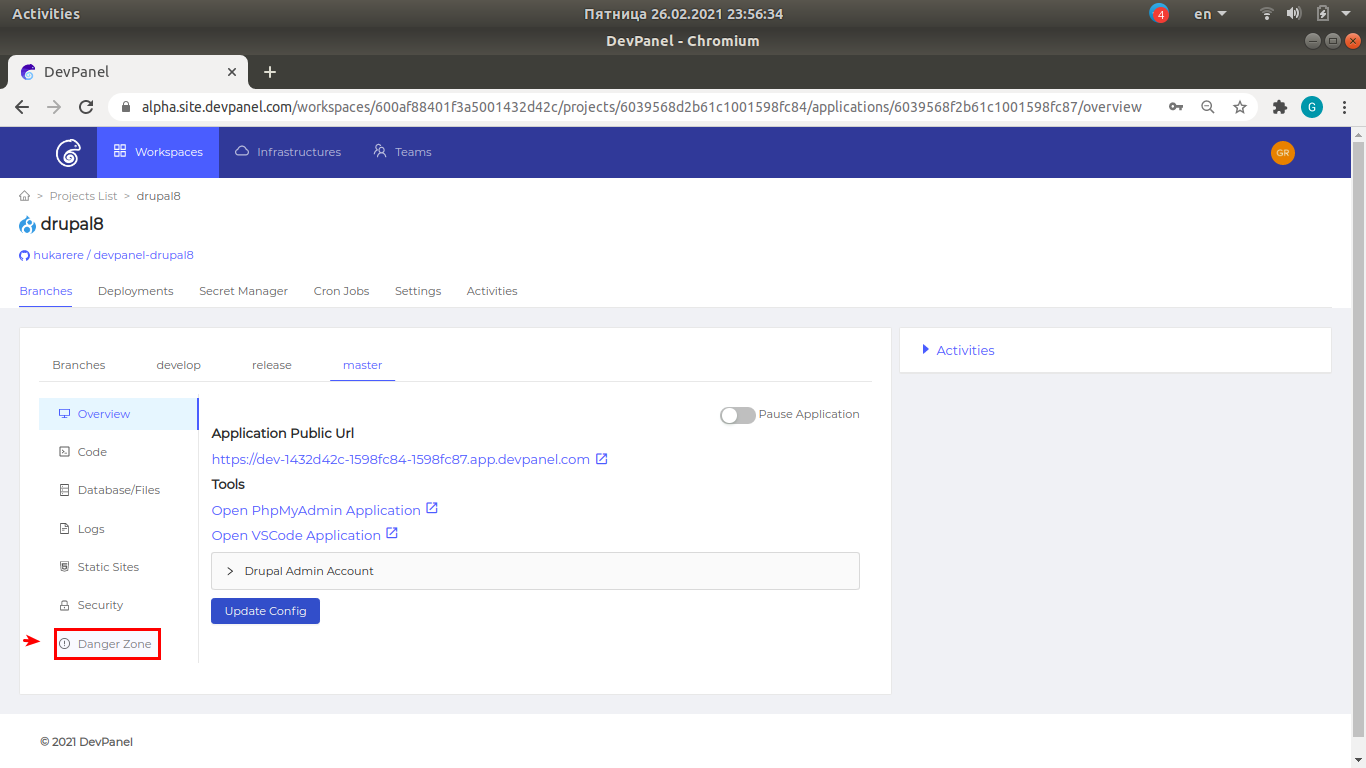
¶ Deleting the application by undeploying the branch
Select "Danger zone".
Type the branch name to be undeployed and click on "Delete Application".
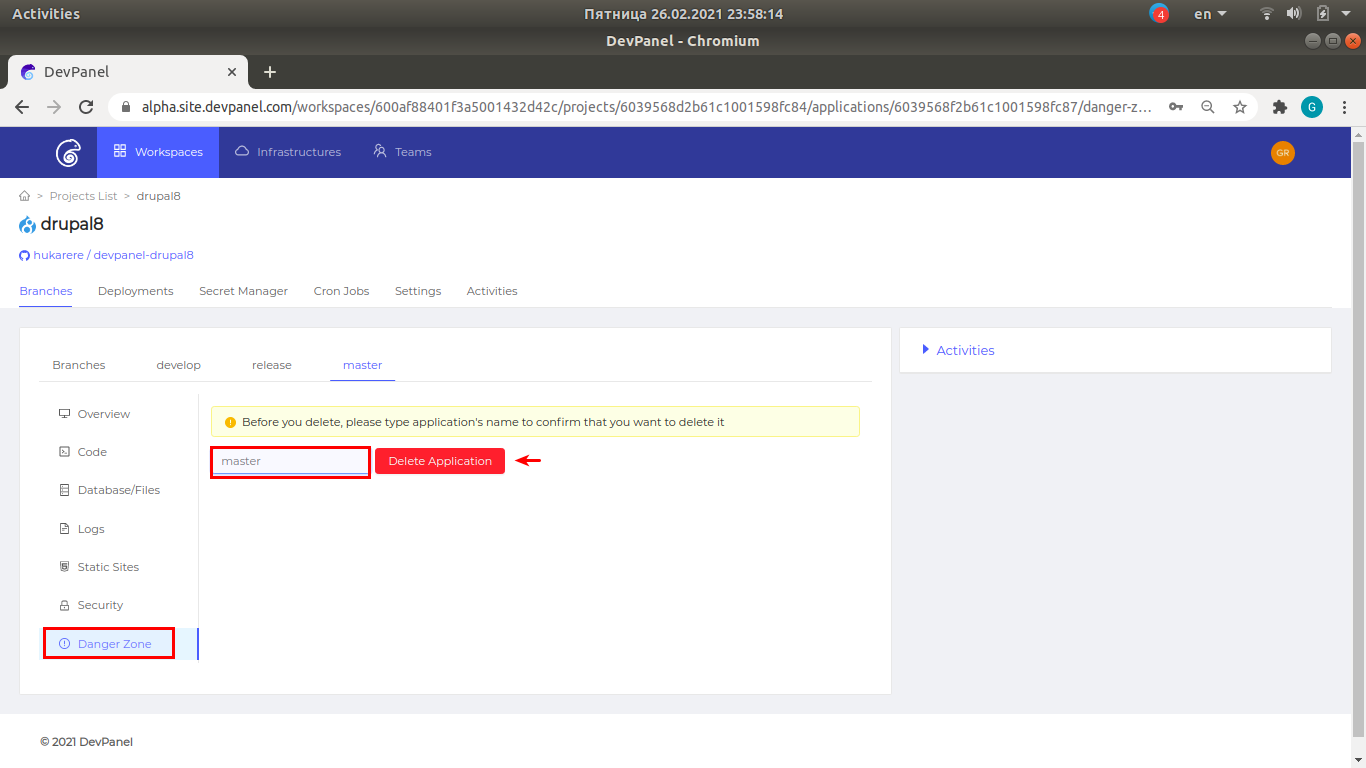
For safety reasons, you are required to type the branch name manually to prevent accidental deletion.
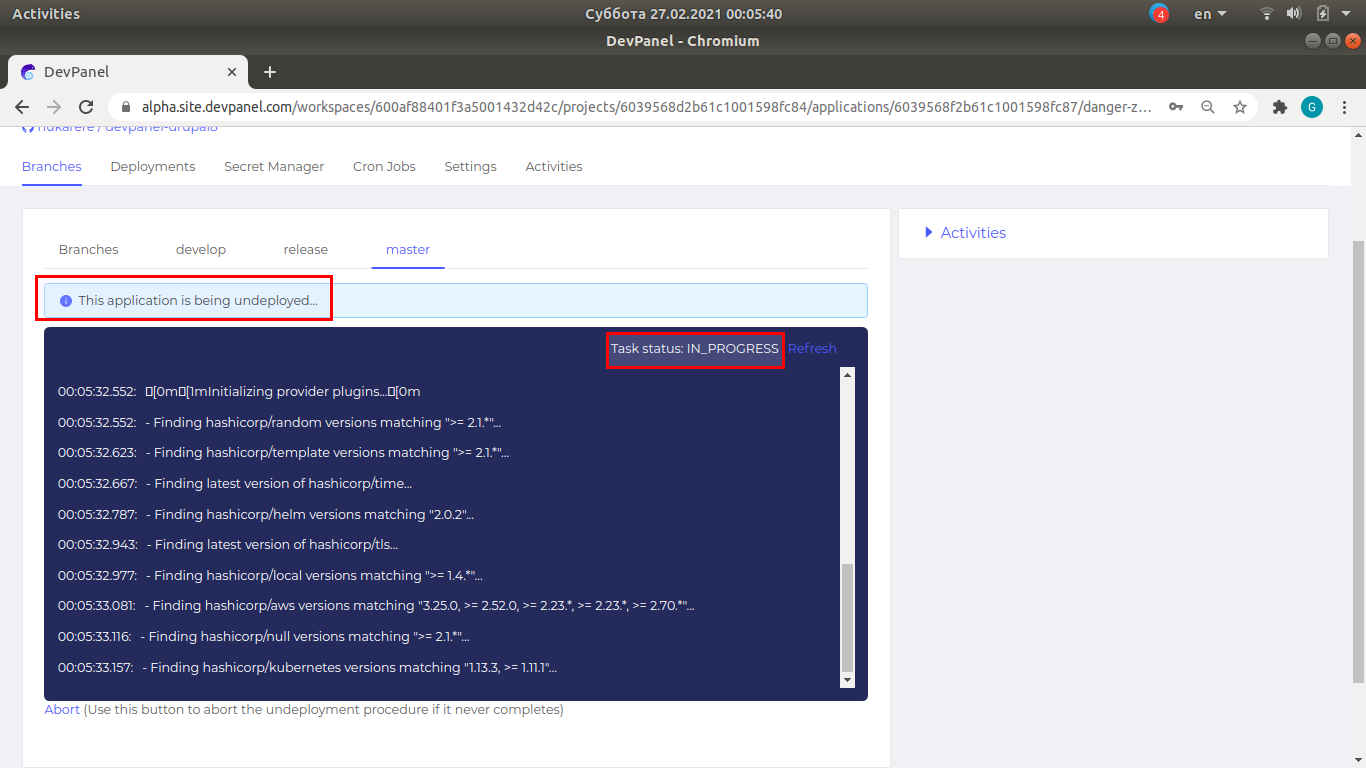
¶ Application deletion (branch undeployment) in progress
¶ Deleting the project
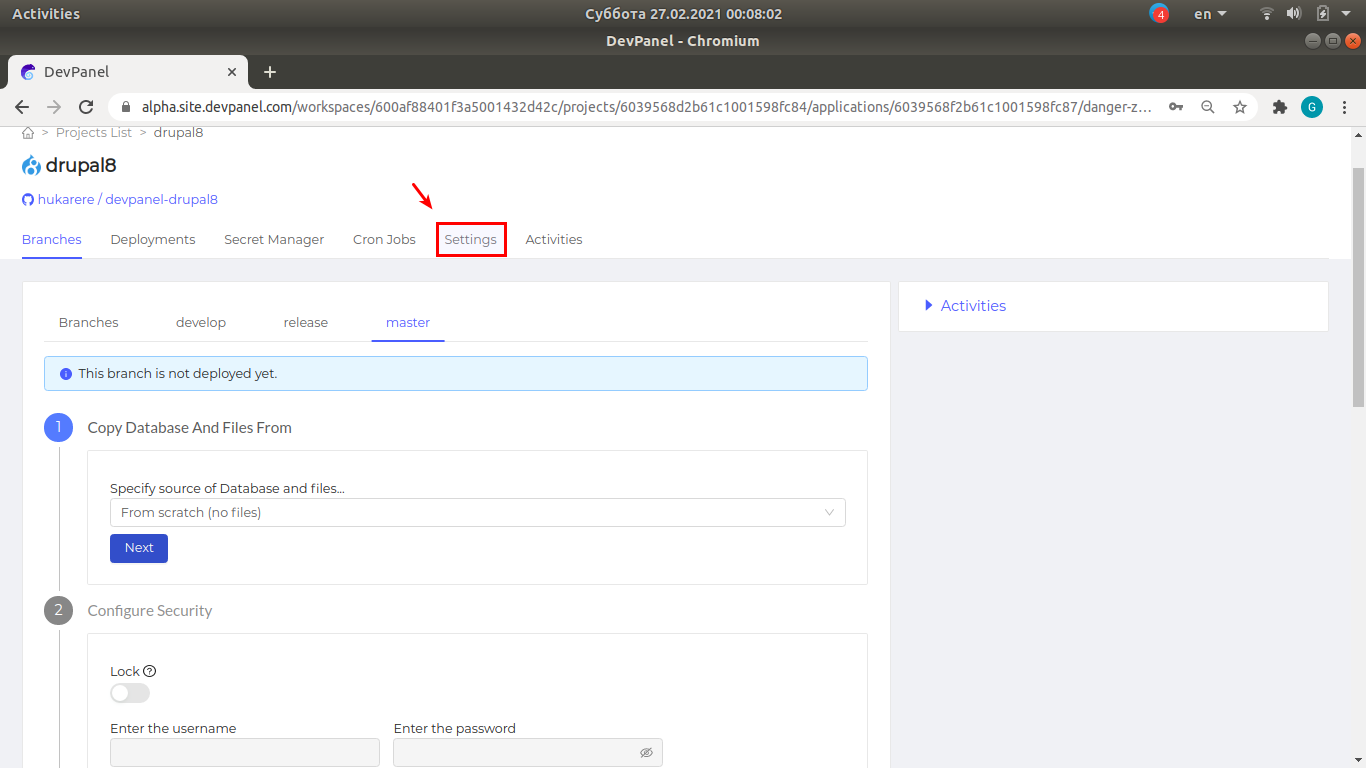
Deleting the project is only possible when all deployed applications are deleted
Click on "Settings"
Scroll down to the "Danger zone", type "DELETE" and click on "Delete Project".
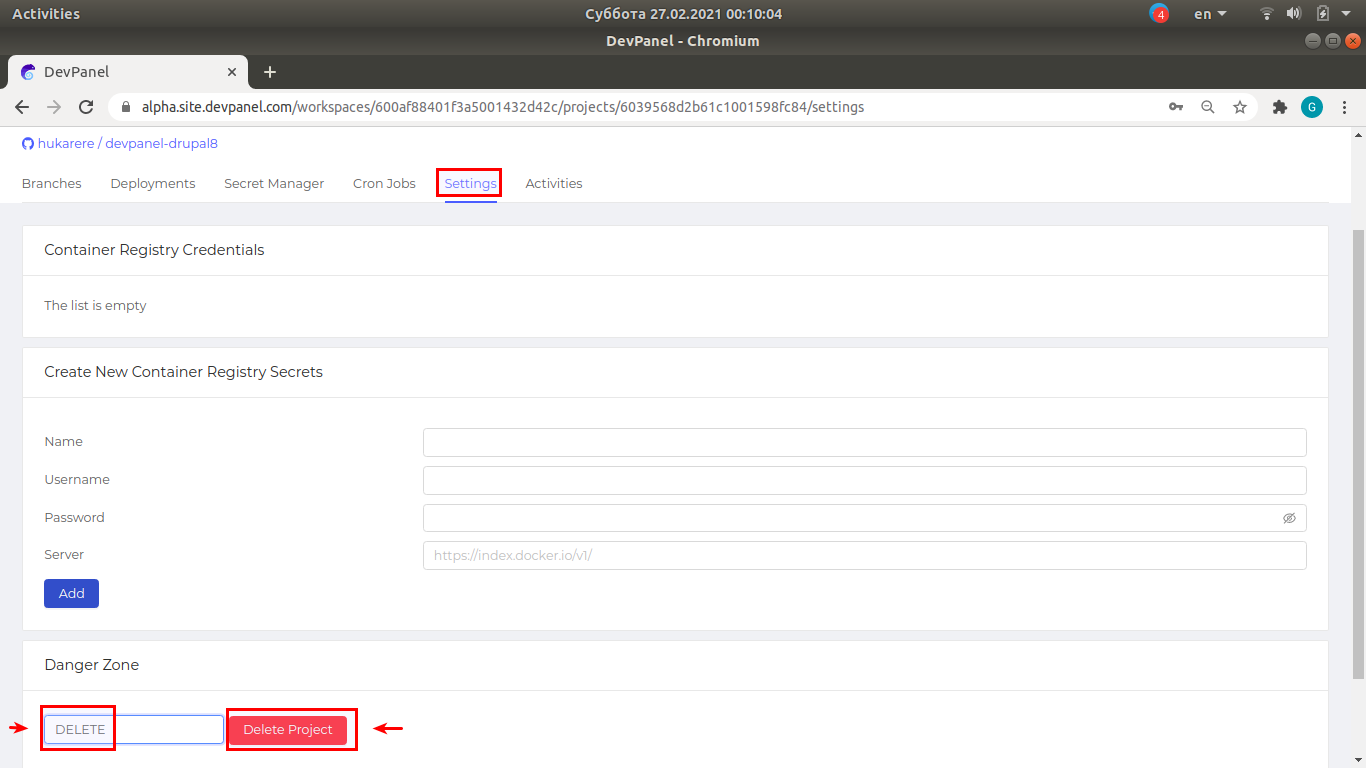
For safety reasons, you are required to type the word "DELETE" manually to prevent accidental deletion.
¶ Conclusion
In this article, we learned how to:
- Create a project
- Create an application in the new project
- Use the application and additional tools (PHPMyAdmin and VSCode)
- Delete the application
- Delete the project