This page is DEPRECATED as of Dec 2024. The functionality for creating SOLR still exists however we recommened using the cloud provider's managed version of SOLR, for example AWS Cloud Search or purchasing Managed SOLR from AWS Marketplace. Using a managed version of SOLR may cost a little more but you will have infinately greater reliability and scalability.
¶ Creating a Solr instance for your application
Creating a Solr instance is similar to creating a Memcached instance. Please follow the same steps as described on the Memcached page, but choose Solr instead of Memcached.
Once the Solr instance is created, expand its "Instance information" in the "Resources" tab in the same way as it is done for Memcached:
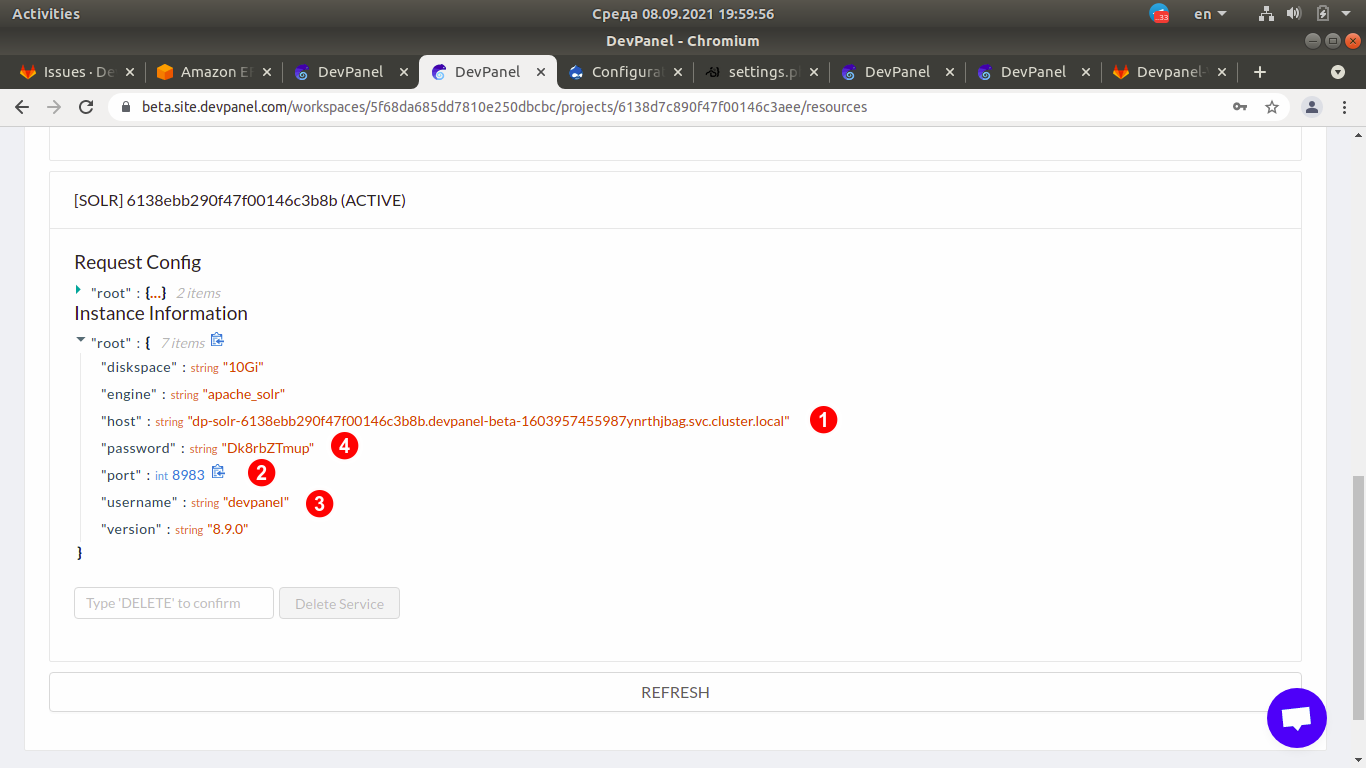
You will need the following values for copy/pasting them to Drupal's Search API configuration dialog in the next section:
- host
- port (usually 8983)
- username (usually "devpanel")
- password
¶ Configuring Drupal to use the Solr instance as a search engine
-
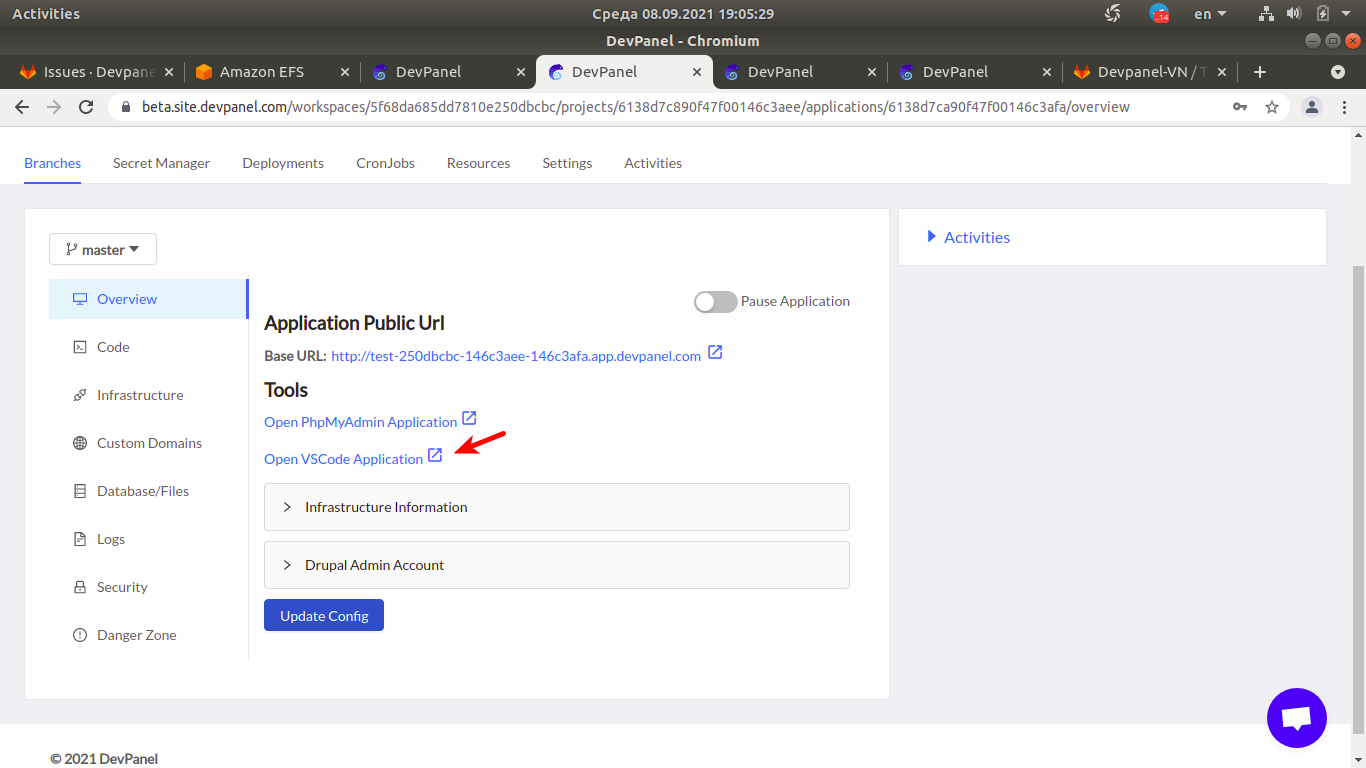
Open VSCode:
-
In VSCode, open a new terminal and install the drupal/search_api_solr module and its dependencies by typing the following command:
composer require symfony/event-dispatcher:~3.4.0 solarium/solarium:^6.1 drupal/search_api_solr:^4.2
-
Setup Search API
Navigate to Drupal Admin Panel > Configuration > Search and metadata > Search API
3.1. Click + Add server.
3.2. In Backend options, choose Solr
3.3. In CONFIGURE SOLR BACKEND, enter the information below- Solr Connector: Basic Auth
- Solr host: SOLR_HOST_GENERATED_BY_DEVPANEL
- Solr port: 8983
- Solr path: /
- Solr core: devpanel
- Username: devpanel
- Password: SOLR_PASSWORD_GENERATED_BY_DEVPANEL
3.4. Save and create your index
On step 3.3, you will need "Instance information" retrieved at the end of the previous section.