This page is DEPRECATED as of Dec 2024. The functionality for creating memcached still exists however we recommened using the cloud provider's managed version of memcached, for example AWS ElastiCache. Using a managed version of memcached may cost a little more but you will have infinately greater reliability and scalability.
¶ Creating a Memcached instance for your application
Create a Drupal application. If you are not sure how to do it, refer to the page First Application.
To enable memcached, you will need access to the Resources tab. The Resources tab is disabled by default and can only be enabled by admins.
The following steps show you how to enable the Resources tab if you have admin access already.
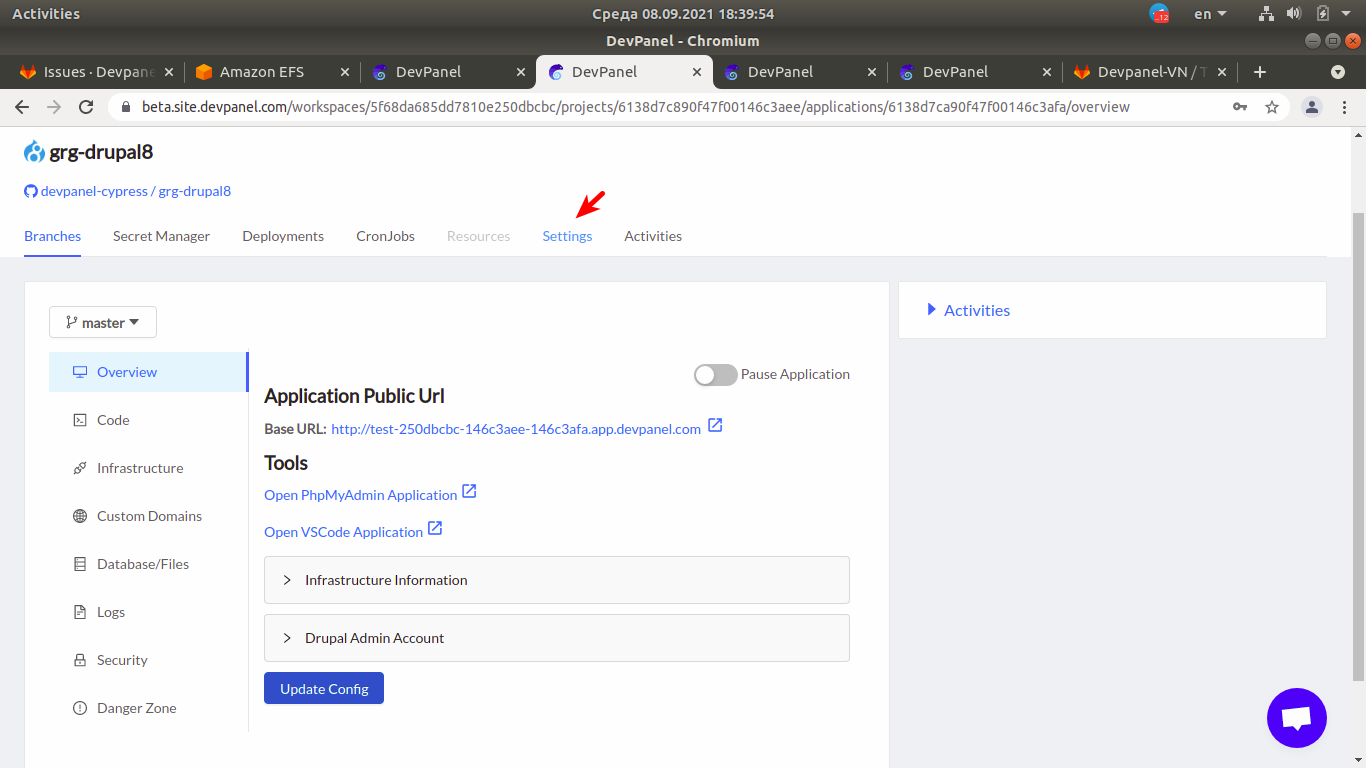
Once the application is created, go to the "Settings" tab on the top panel:
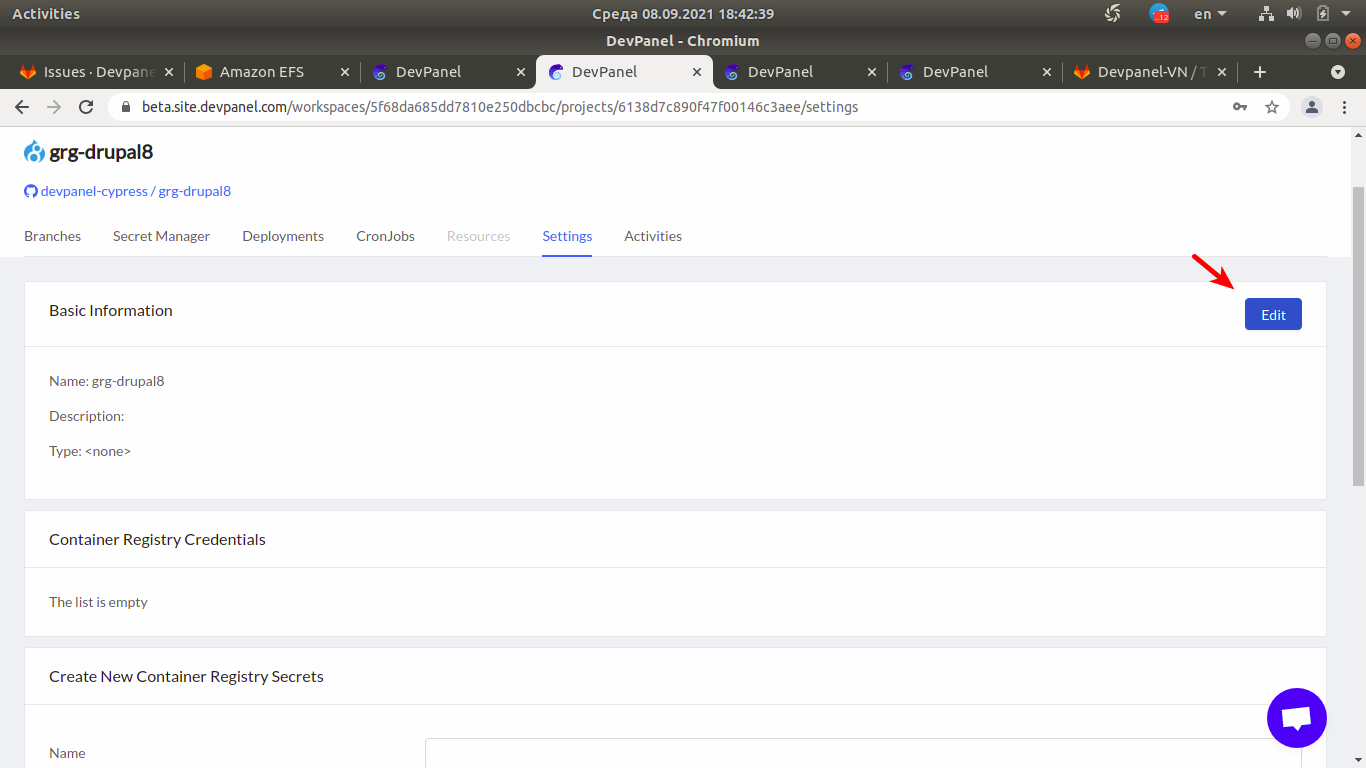
On the right of the "Basic Information" section, click "Edit":
This will open a dialog for editing the "Basic information":
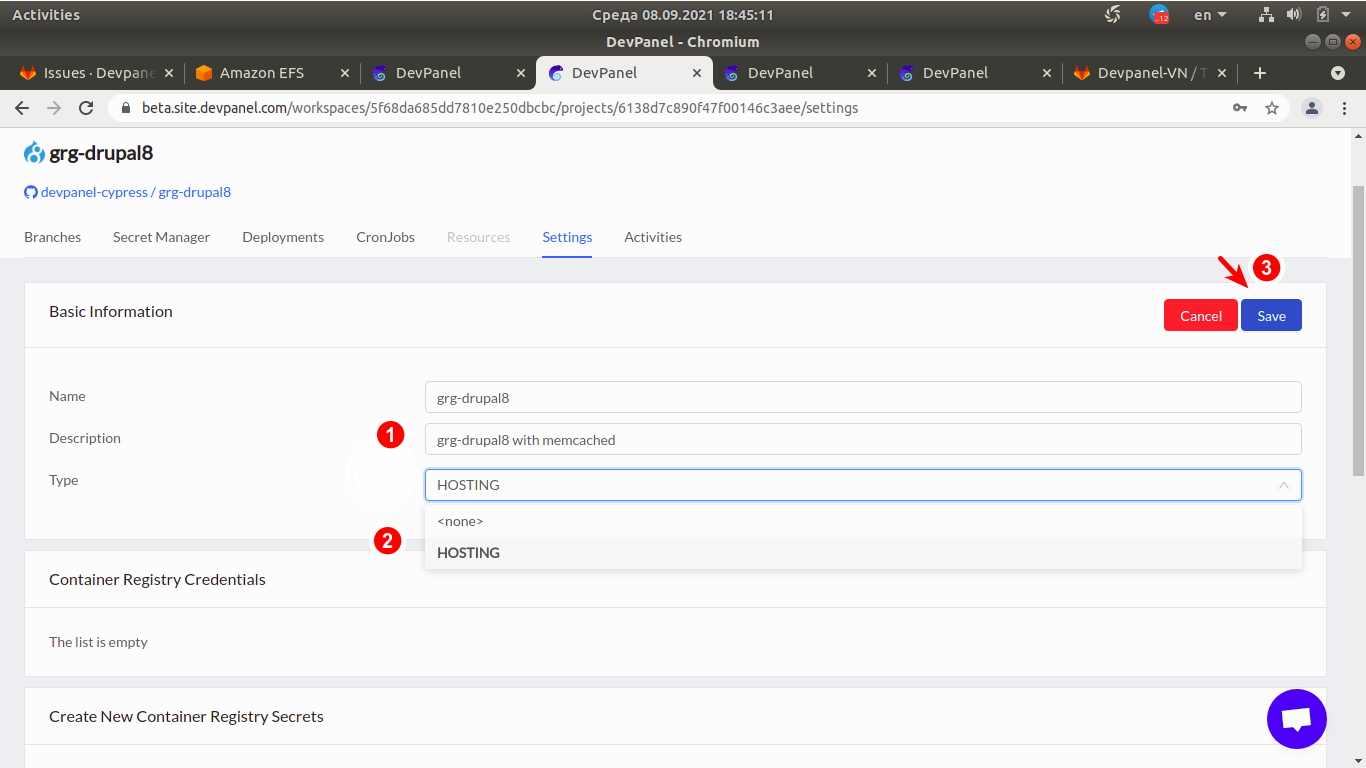
- If the description was not filled previously, enter an arbitrary description (due to restrictions of the interface, it is impossible to save the changes with an empty description)
- Using the dropdown menu, change the application type from
<none>toHOSTING.
You might need special permissions to change the application type.
- Click "Save".
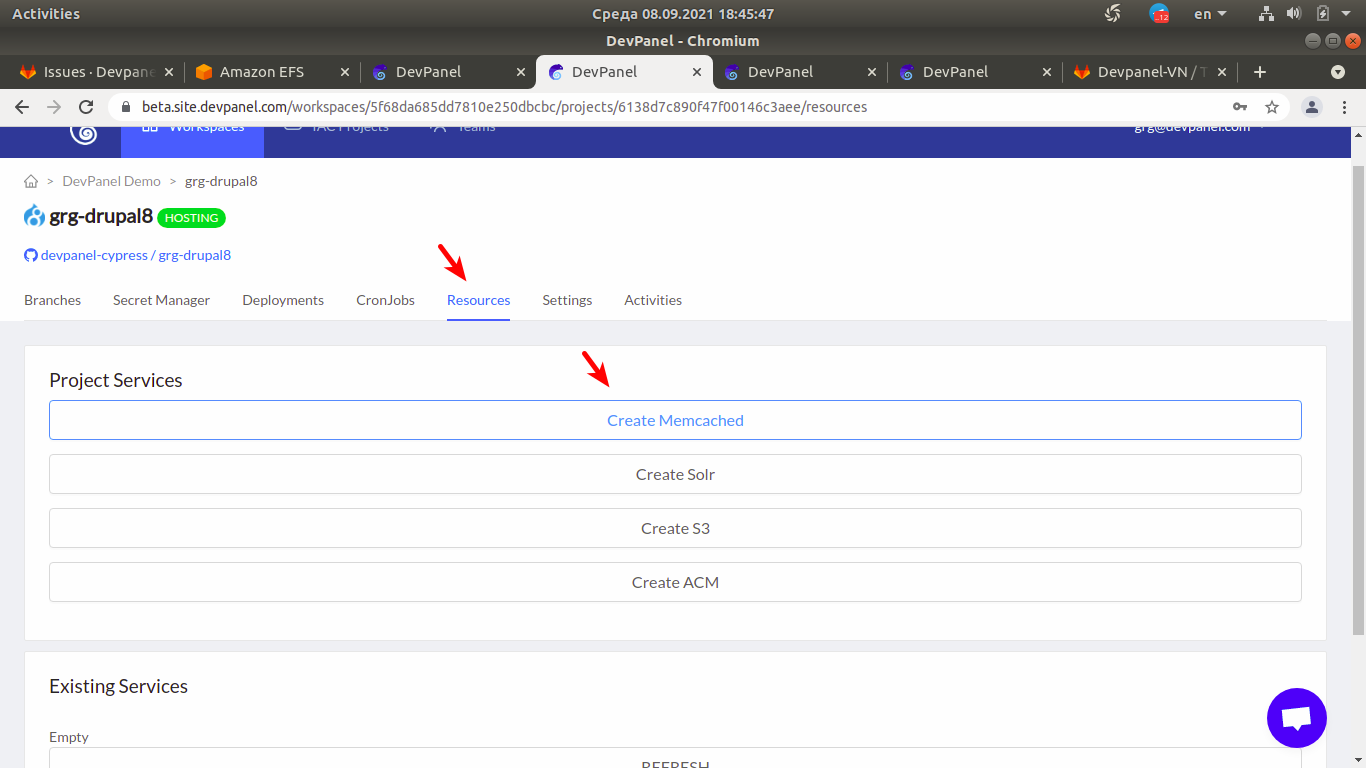
After that, the "Resouces" tab, which was previously disabled, will become available. Click on it, and, once there, click on "Create Memcached" to create a Memcached instance for your application:
A Memcached instance will appear under "Existing services":
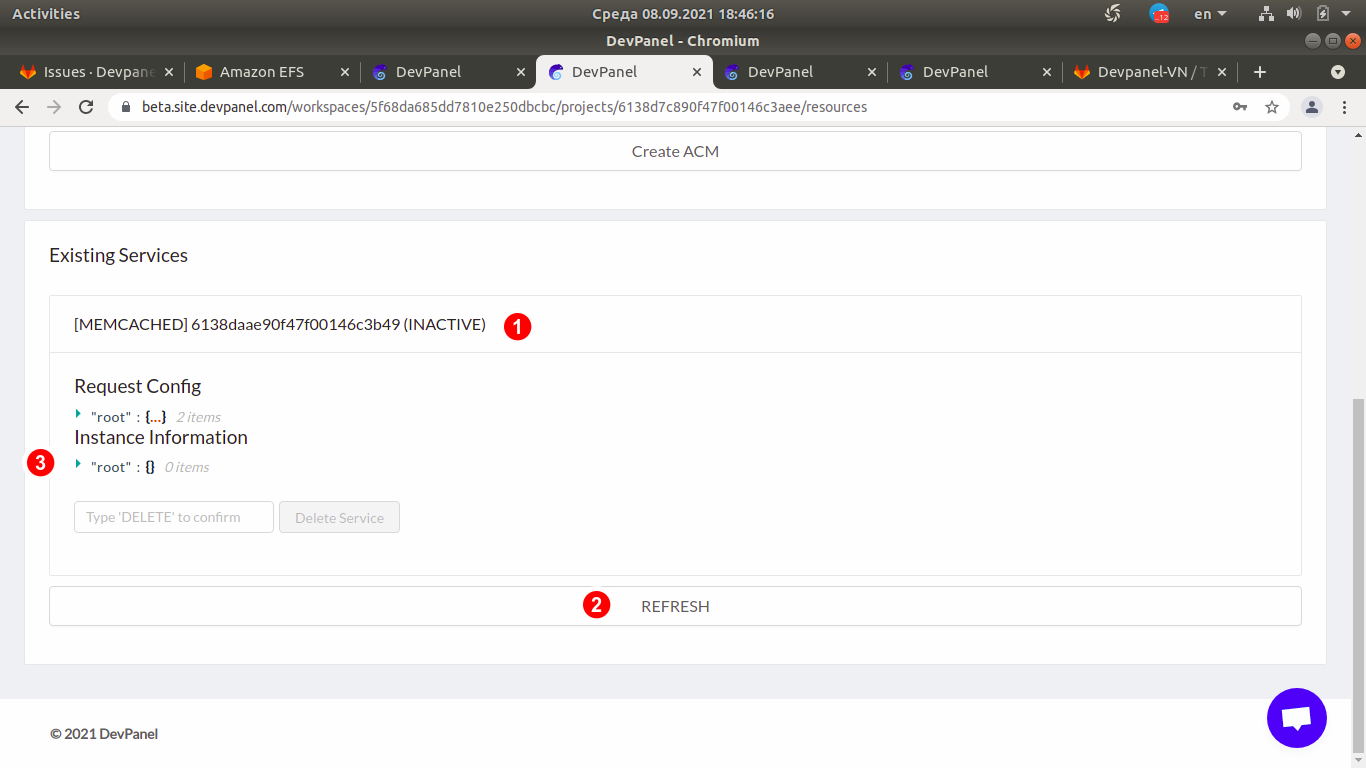
- For some moments, the Memcached instance will be marked as "INACTIVE".
- You may need to click on "Refresh" several times until the instance becomes "ACTIVE".
- Once active, you will be able to click on "root" under "Instance information" to expand it.
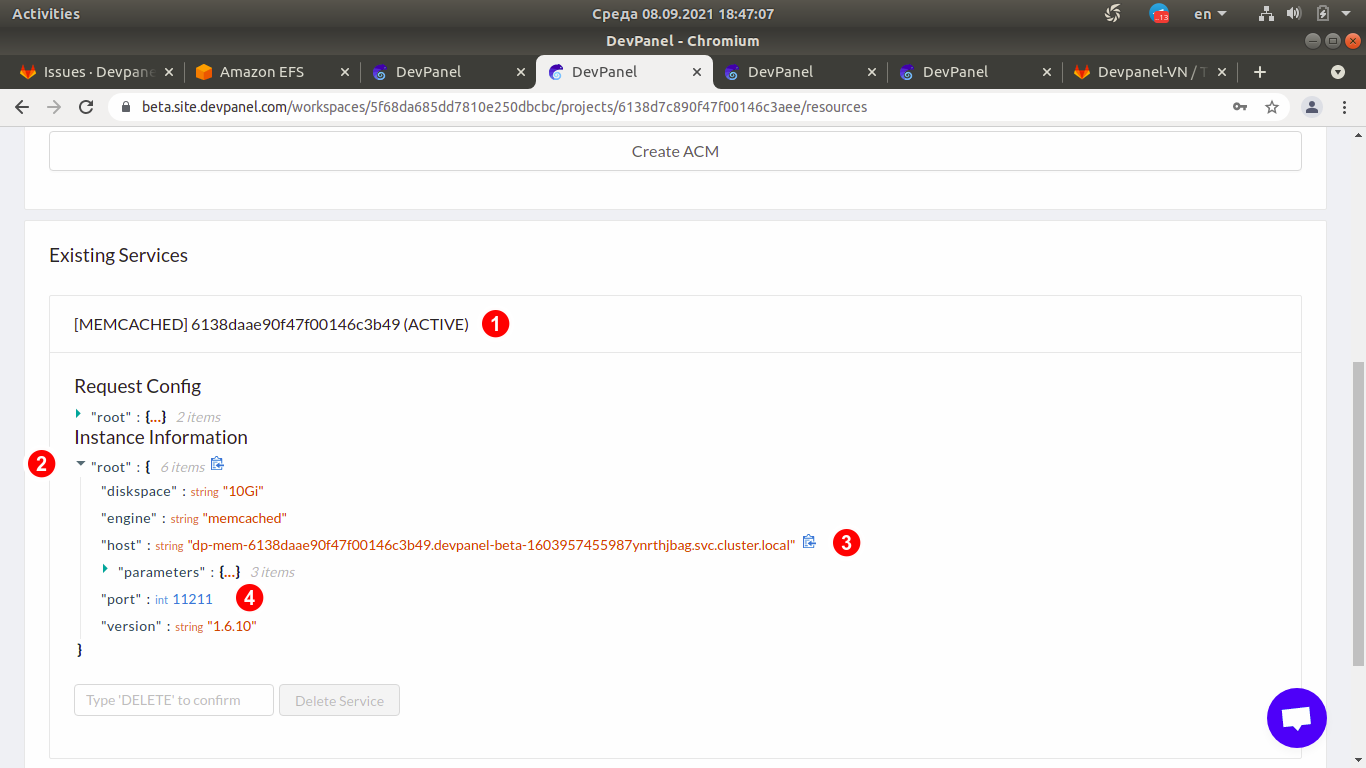
- Once the Memcached instance is active
- and the "Instance information" is expanded
- You will need the "host" value to copy/paste it to Drupal's settings.php (see next section).
- You will need the "port" value (usually 11211) to copy/paste it to Drupal's settings.php (see next section).
¶ Configuring your Drupal application to use the Memcached instance
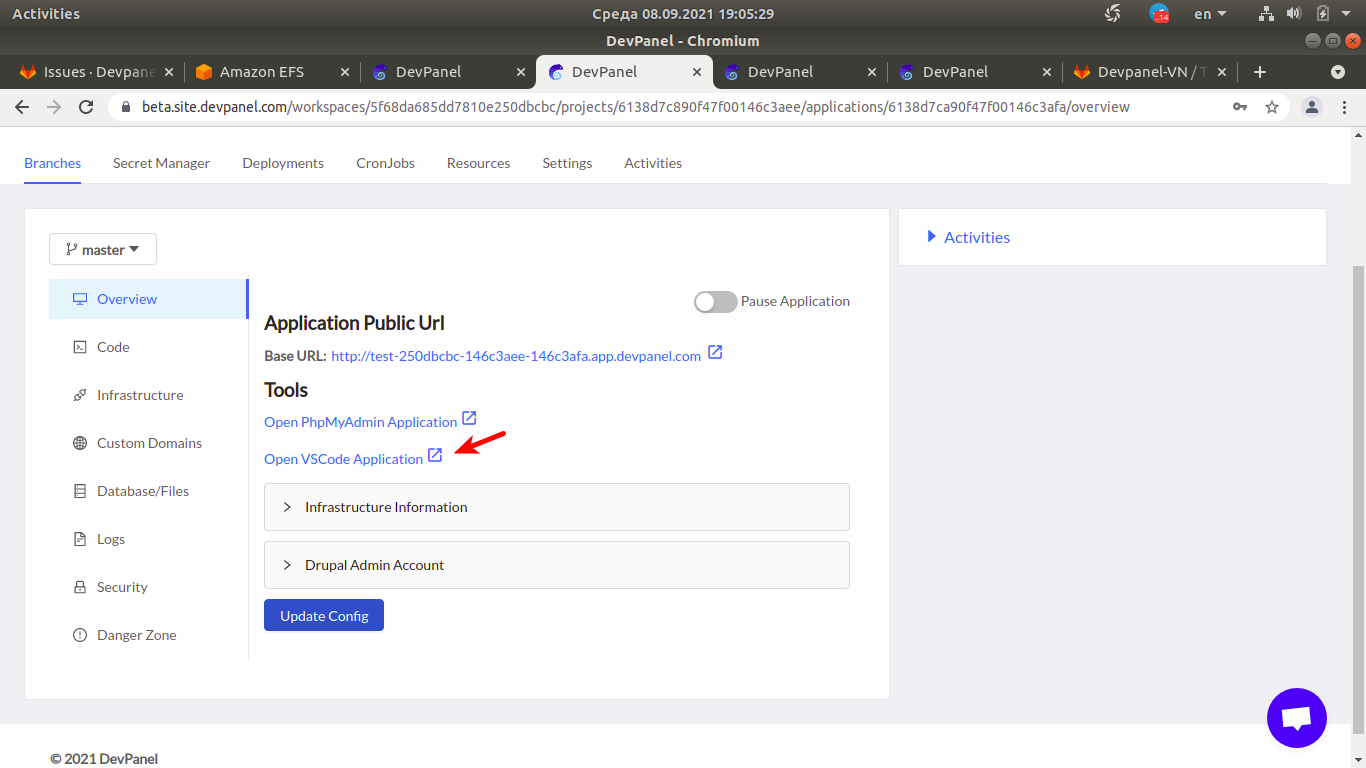
- Open VSCode:
- In VSCode, open a new terminal and type the following commands in order to install and enable the "memcached" module:
composer require drupal/memcache
drush en -y memcache
- In VSCode, open the file settings.php (typically
sites/default/settings.php) and add the following lines to the end of the file:
$settings['memcache']['servers']     = ['MEMCACHED_HOST:11211' => 'default'];
$settings['memcache']['bins']        = ['default' => 'default'];
$settings['memcache']['key_prefix']  = '<random_string>';
$settings['cache']['default']        = 'cache.backend.memcache';
$settings['cache']['bins']['render'] = 'cache.backend.memcache';
Replace MEMCACHED_HOST in the first line of the snippet above with the "host" value retrievied from the Memcached "Instance information" in the "Resources" tab as described at the end of the previous section. If the port name is different from the default 11211, replace it as well. After that, the first line of the code snippet above will look similar to this:
$settings['memcache']['servers'] = ['dp-mem-6138daae90f47f00146c3b49.devpanel-beta-1603957455987ynrthjbag.svc.cluster.local:11211' => 'default'];
NOTE: Multiple applications and sites can use the same memcached resource as long as each of them is using a different
key_prefixrandom string value
Save your changes to settings.php.
By default, the permissions of settings.php are set to read-only, so VSCode might ask you if it is OK to overwrite the file bypassing the permissions. Confirm this operation.
Now your Drupal application is configured to use Memcached!
¶ Is Memcached really working? (Memcached Statistics)
To make sure that Memcached is really working, you may need to install the Memcache Admin module using Drupal's admin interface. Alternatively, you can install and enable it using the command line:
composer require drupal/memcache_admin
drush en -y memcache_admin
After that, the "Memcache statistics" will appear in the "Reports". It will contain the parameters of your memcached instance along with the gets/hits/misses counters.
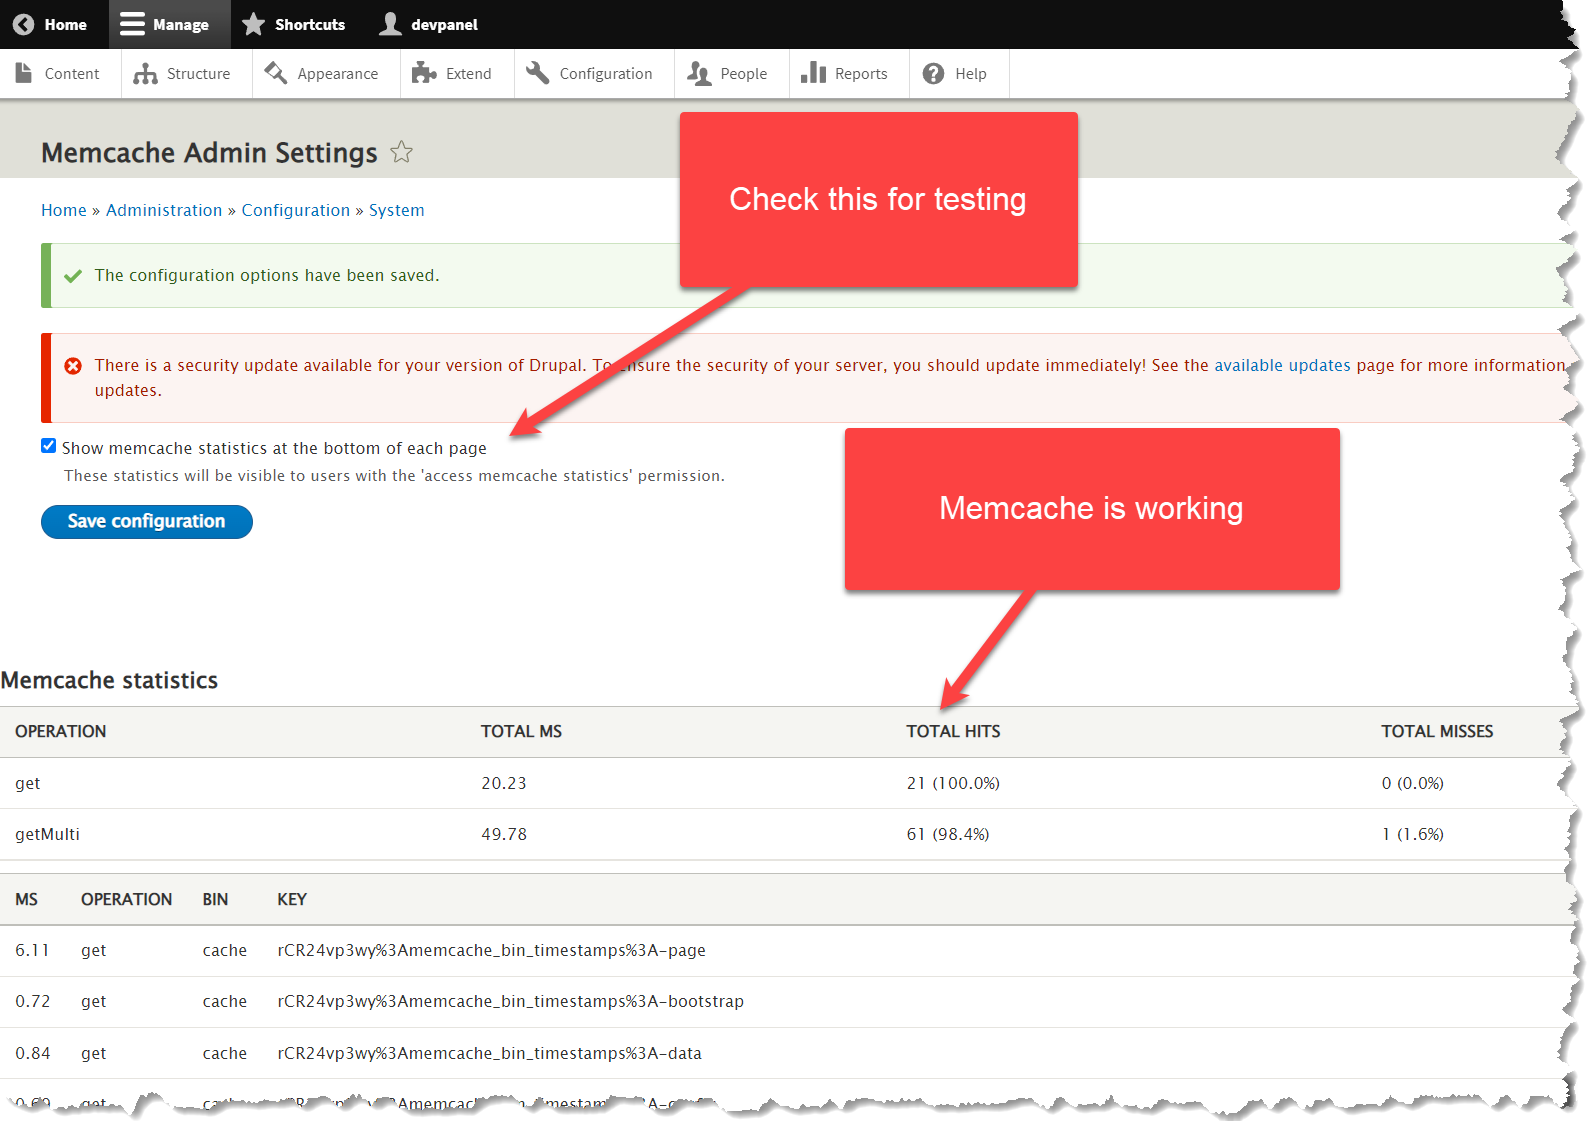
If the memcached parameters added to settings.php are incorrect or the memcached instance is not working properly, the "Memcache statistics" will report about a configuration error and the following message will be displayed:
There may be a problem with your Memcache configuration. Please review README.txt for more information.